Using Worldlink's NAT for OpenVPN Server to host LAN Party Games and more
A guy with a keen interest in computer networks, software development, web technologies, embedded systems, and programming. When I am bored you can find me bingeing anime series, reading novels, and tinkering with hardware and software.
One of the main problems we face with IPv4 is NAT. Some may argue that NAT has it's own benefits but the main elephant in the room is the mess it has created in the network field. If you want to self-host something and share it with your friends it's a nightmare. Heck, it's not even possible in many of the ISPs here in Nepal because of their multiple layers of CGNAT across their infrastructure for the customers. They straight out reject you or tell you it's not possible to expose a port from your network to the internet from them. Instead, they will ask you to get their expensive packages which have NAT disabled.
One of the good things about Worldlink is that they have made it possible for their customers to communicate with each other inside their NAT network. Every CPE of the Worldlink users get a dynamic NAT IP and all of them can talk to each other. There seems to be no firewall restriction on the CPE or on their branch switches. So if you open a port on one of your devices connected to the CPE, you could ask the ISP to port forward it to their NAT IP.
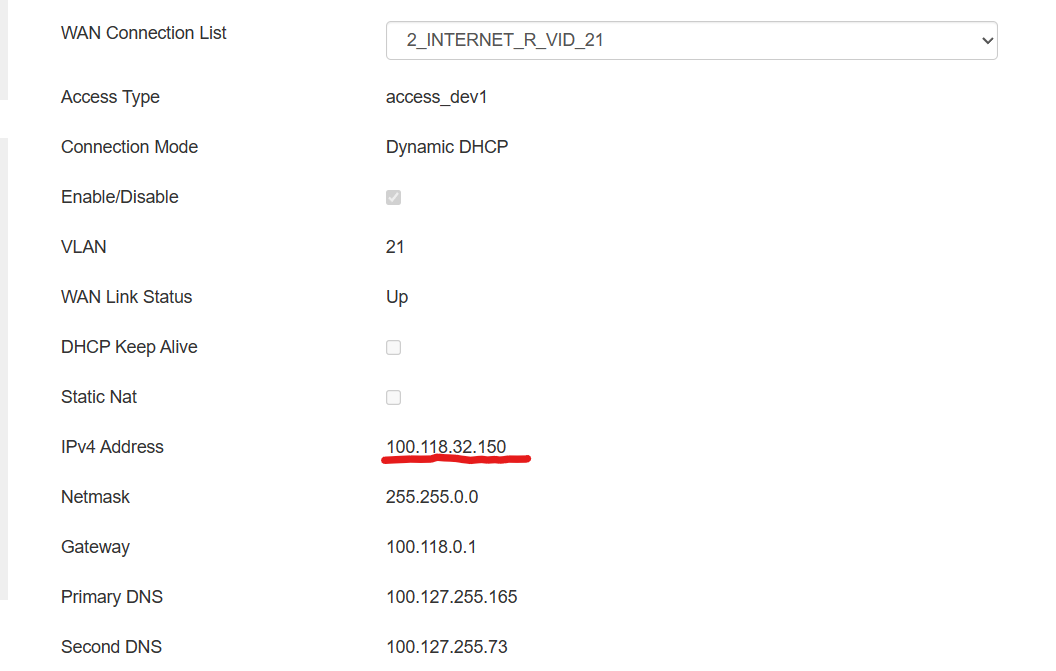
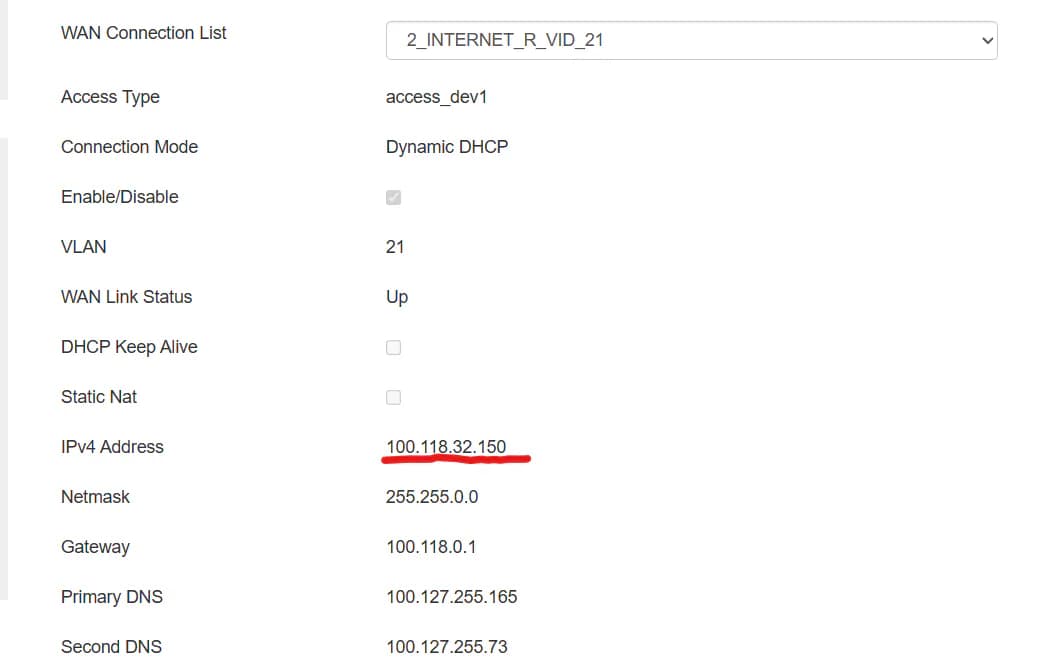
For example, here currently I have a NAT IP 100.118.32.150 on my CPE right now. I have router access which was really troublesome to get but I managed to do it somehow. Maybe I will write a blog about it.
You could also get this NAT IP address from your myWorldlink App. It should be on the router details tab. Anyway, once you know the NAT IP. Contact your ISP and tell them to forward a port from the device IP you are exposing to the NAT IP. Here I have exposed a port 8000 using Python's HTTP server.
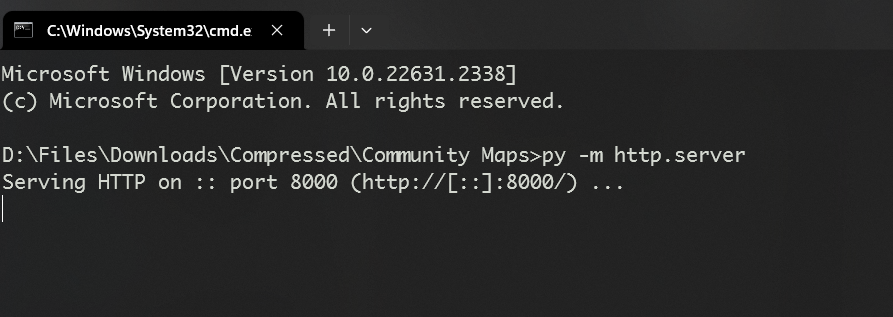
Once they forward the port. You can simply access that service through the port that your ISP has forwarded to the NAT IP.
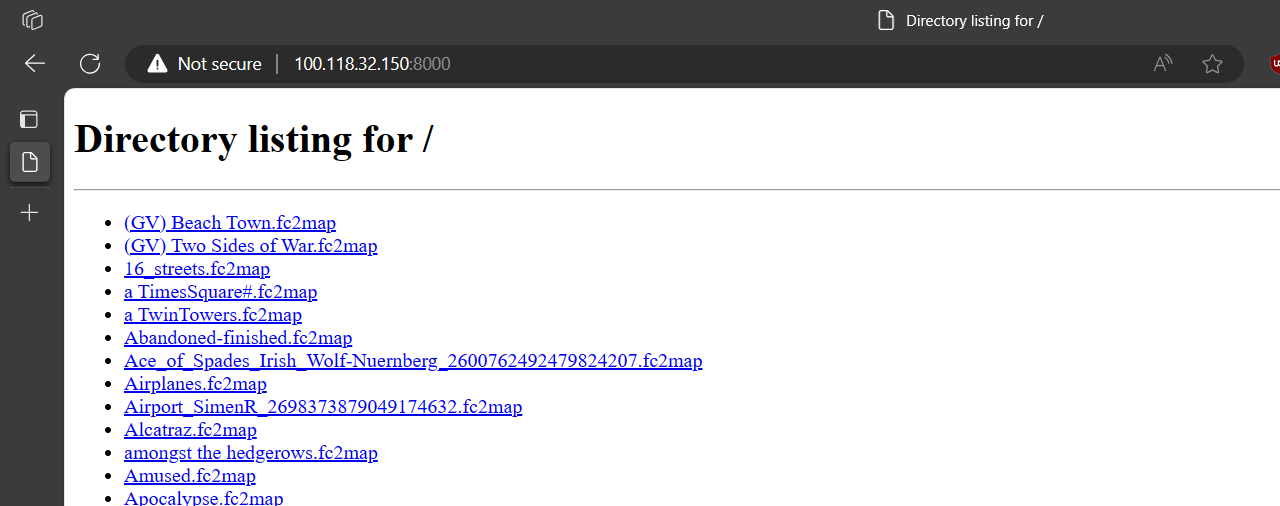
You can share your NAT IP with the port to other Worldlink users and they will be able to access it. And the best part of this is the latency is crazy good. Since it's on the same NAT network, you will get around 8-10 ms latency. However, the bandwidth will still be limited to the internet package speed you have subscribed to.
Now we know the basic working process of the port forwarding on the NAT network of the Worldlink. Let's talk about how we are going to use it to play multiplayer games that support Local server or LAN gameplay.
To achieve this you will have to set up a VPN server and forward the server's port to the NAT IP. Once the port is forwarded, other Worldlink users will be able to connect to the VPN and communicate directly with other users connected to the server. This will save some firewall and port forwarding troubles for different games and applications.
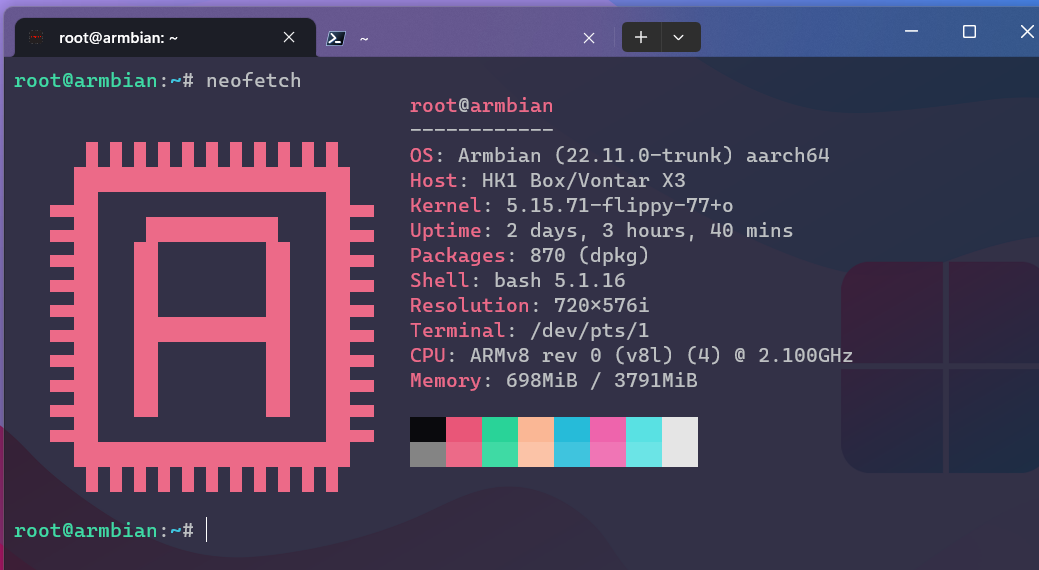
In my case, I have a Linux machine that runs 24/7. It's a low-powered TV Box that I have installed Linux on.
For the VPN Server, I am using PiVPN. It's really easy to set up and lets you choose between Wirguard and OpenVPN. I recommend you choose OpenVPN as it supports the TAP interface which is really important for LAN multiplayer games.
Once you installed it. There are a few things you need to change to make it workable.
First, edit the OpenVPN server config file which you can find in /etc/openvpn/server.conf . Change as shown in the image below
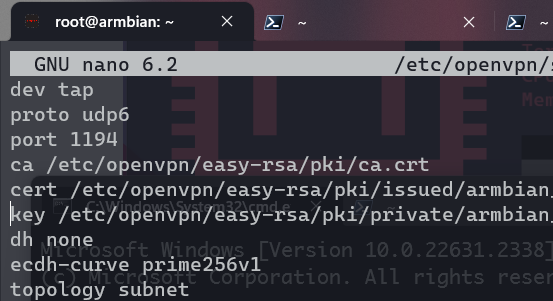
dev tun to dev tapproto udp to port udp6
Changing udp to udp6 is something that will make it possible to connect with other ISP users with IPv6. The thing is many of the big ISPs here in Nepal have started deploying IPv6 to their customers, including Worldlink also.
Since IPv6 doesn't have NAT, every device gets its own unique public IPv6 address which can be used to communicate with other IPV6 devices on the internet. It's so easy to expose a port to the internet using IPv6. There is no need for port forwarding, you just expose a port and it's online on the internet. In Worldlink's case, they have not implemented any kind of firewall on their CPE. The only thing that stops or protects your devices with IPv6 addresses from being exposed to the internet is a firewall, which for some reason worldlink has decided to disable on their CPE. Meaning you will have to depend on your own device's firewall.
Currently, while I am writing this, as far as I know, ISPs that have IPv6 fully deployed are Worldlink Communications, Vianet, Classictech, and Dishhome.
But since IPv6 solves everything, why not use it for the connection instead of NAT? For some reason, while using IPv6 the latency goes around 80-90 ms. Looking at the tracert , it's clear that the request goes outside the country making it 80-90 ms. Maybe it can be fixed with some routing config from the ISP side, I don't know.

The above IPv6 address is from a Vianet user and I get around 70-80 ms latency while doing a ping.
So, using the NAT IP to connect to the VPN server has its benefits but it is limited to the Worldlink users only. The good thing is that the VPN server can be connected using both IP versions, i.e. IPv4 and IPv6.
Leave the proto to udp6 in the server config.
Now we have explained the IPv6 part let's get to the setup process again.
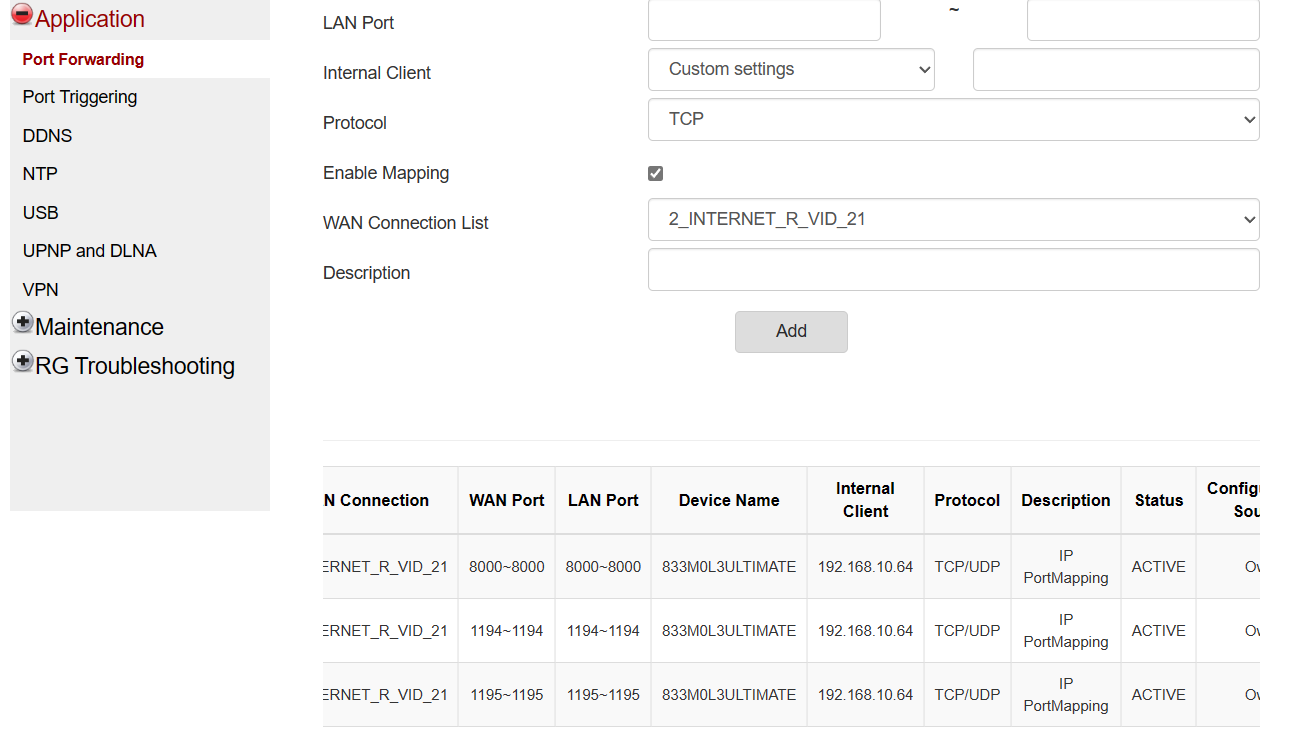
Once you saved the config. Make sure you remember the port you set for the OpenVPN, the default is 1194. Because that is the port you want to forward for the NAT IP. Since I have router access, this is what it looks like when a port is forwarded inside the router. Ask your ISP to do it for you, they have access to your router.
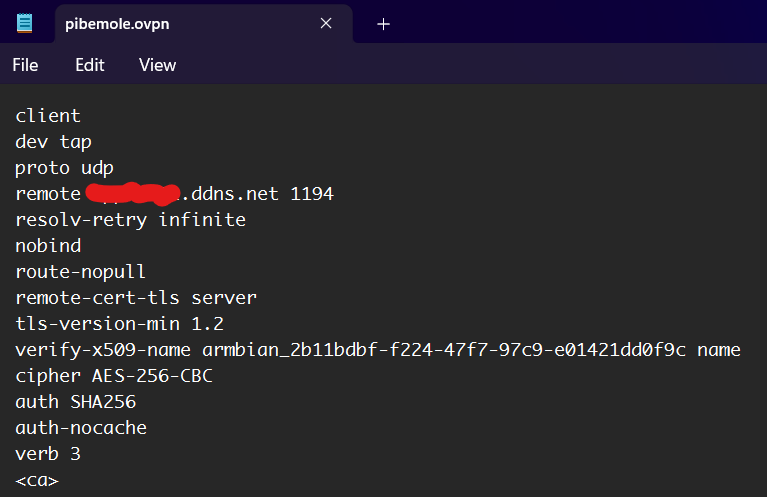
Now on your server machine's terminal. Use the command pivpn -a to add a user. Once you add a user, it generates a config file. Get that config file and make some changes based on your connection.dev tapproto udpremote YOUR_SERVER_IP 1194route-nopull
Set the dev tun to dev tap
Set the proto to udp6 here only if you are trying to connect to the VPN server using IPV6 address, if you are trying to use NAT IP or IPv4 then leave it as udp
And make sure you add route-nopull . It stops routing of the server network to the users and fixes some IP conflicts as well.
It should look something like this in the image below. I am using a domain name instead of IP. You can do that as well by setting up a DDNS using scripts and automation.
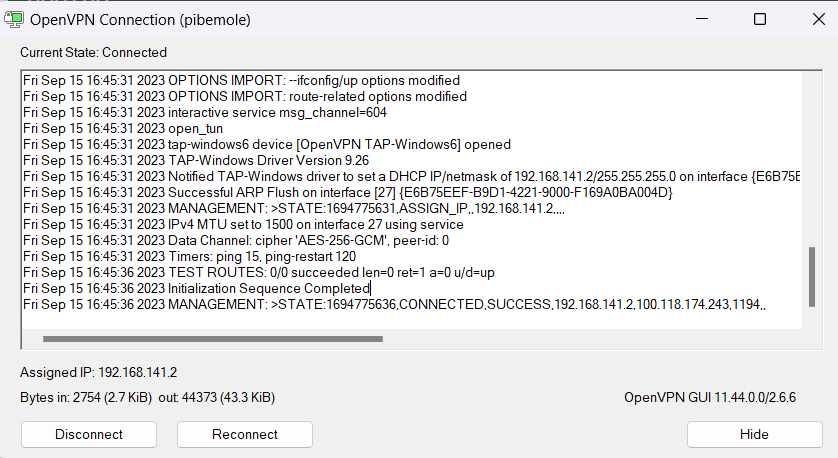
Once the config file is modified. Download the OpenVPN Client program and import the config then connect.
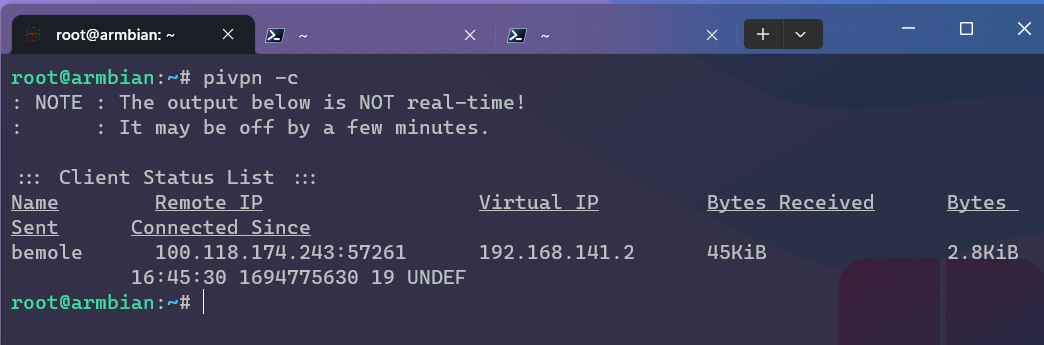
On the server terminal, you can use pivpn -c to view the connected users. Generate the config file for each user.
Now start playing your favourite offline LAN multiplayer games with your friends.
Some of the games I play with my friends are :
Far Cry 2
CS Warzone
Torchlight 2
Left 4 Dead 1/2
Need For Speed MW
Line of Sight Vietnam
Halo
Minecraft
etc
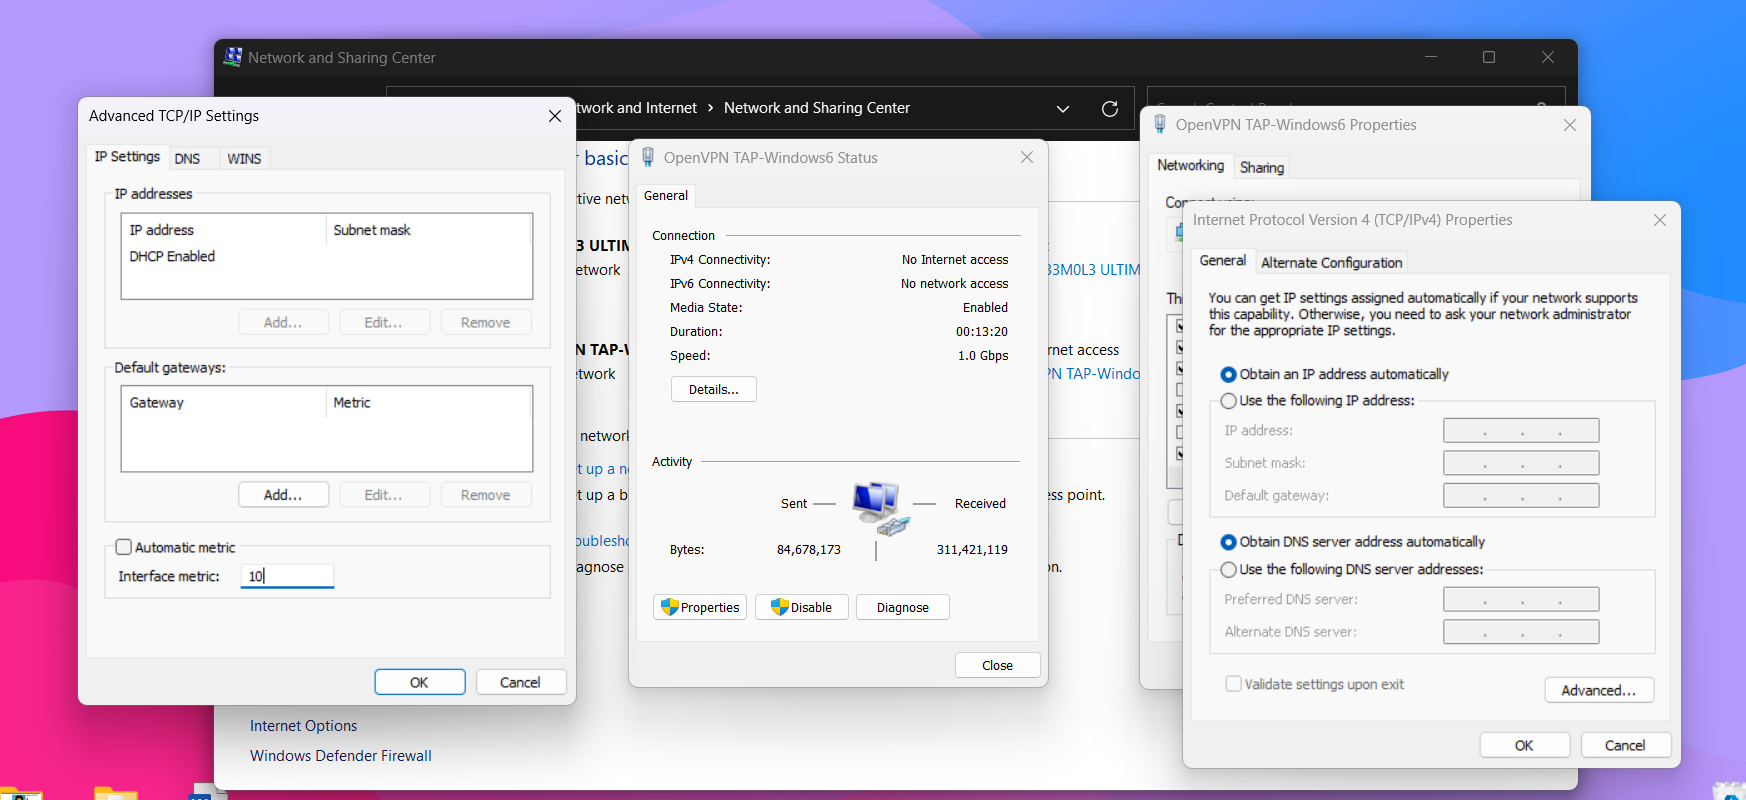
Also, make sure to set your OpenVPN's TAP Network Interface metric to a lower value. E.g 10. The lower the value, the more priority the interface will get. Some games without direct IP connection automatically use the interface with higher priority.
Similarly, you can play games that support offline LAN multiplayer on Android as well. The tricky part on Android devices is getting the TAP interface to work. Fortunately, there is a VPN app called VPN Client Pro, which supports .ovpn config files and makes the process much easier. Just install the app, import the config, and connect. It's that easy. I tested this with BombSquad and Mini Militia. Worked great.