Using Android TV Boxes as a Linux Machine for a home lab

A guy with a keen interest in computer networks, software development, web technologies, embedded systems, and programming. When I am bored you can find me bingeing anime series, reading novels, and tinkering with hardware and software.
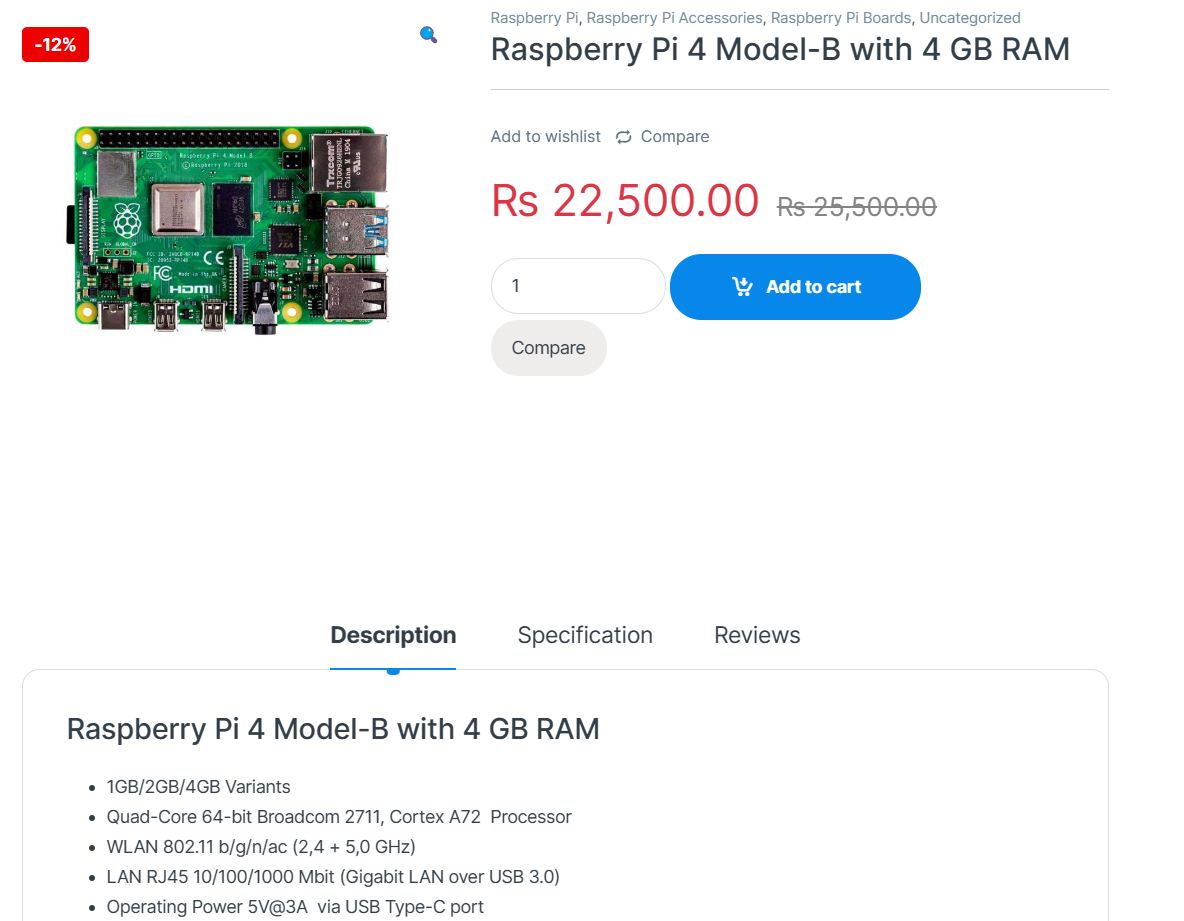
A cheap way to get started with a home lab for a beginner is to get a Raspberry Pi. But in recent years, especially here in Nepal, the price of these Raspberry Pi has skyrocketed. Raspberry Pi 4 4GB variant can cost up to 22K with all the accessories it requires to get it up and running.
That's an insane cost. With that much money, you can get a decent 2nd hand Desktop CPU and use it as a home server, which will be more powerful and modular than these Raspberry Pis.
So what's the alternative to this?
Android TV Boxes are where they start shining here. In the past years, Android TV Boxes have started becoming really powerful with their chip makers upgrading their CPU for more demanding tasks like 4K video decodings and resource-heavy games.
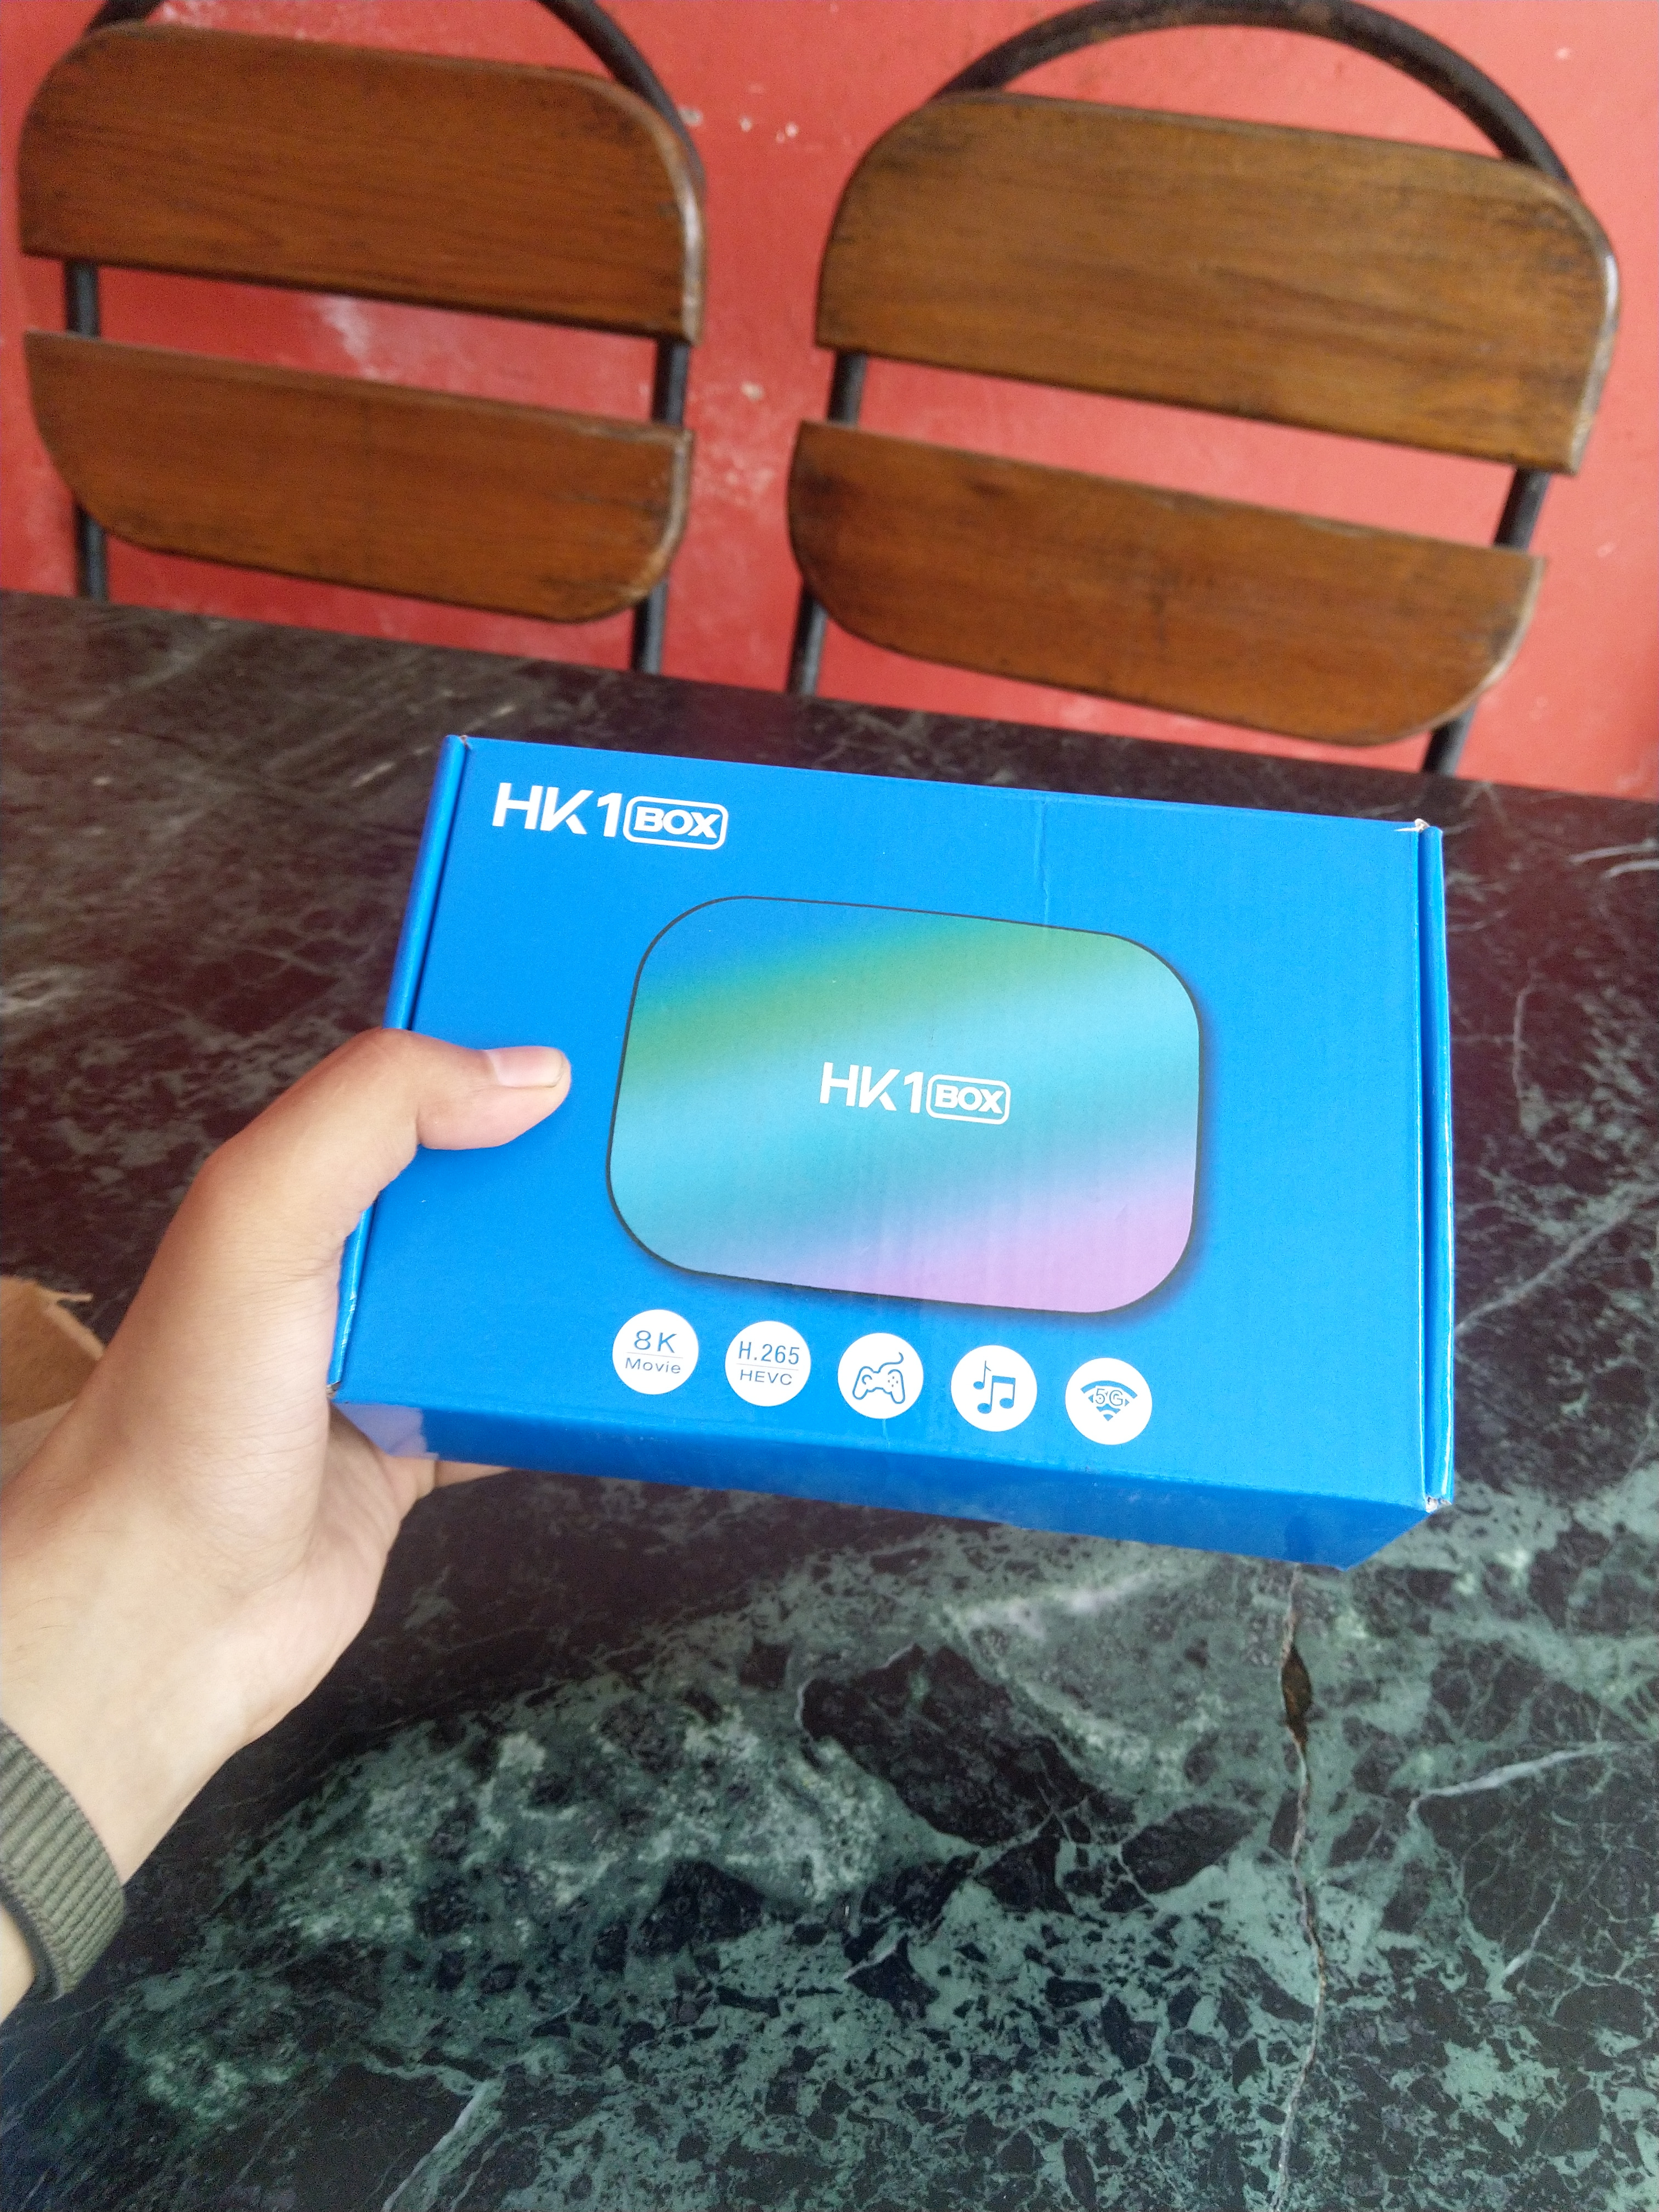
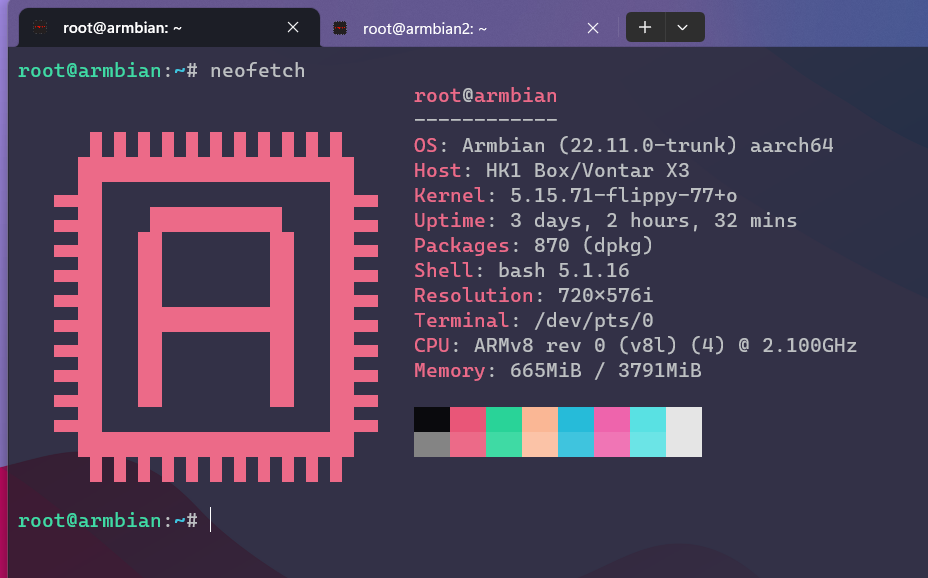
What's more surprising here is their cost. An Android TV Box with 4GB of RAM and Almogic S905X3 costs around 6-7K, which is really good. Amlogic S905X3 comes on par with the CPU that comes inside the Rasp Pi 4 models. I would say that these are even faster. You can see the benchmarks here. Also not to forget about the extra accessories costs. With a 6-7K cost, an Android TV Box comes packaged with everything it needs to get it to start running. The box's board already has a big heat sink on the CPU, has EMMC storage, has a nicely done air-vented casing, and comes with a power supply cable.
The only thing it would be lacking compared to the Raspberry Pis is the GPIO PINs, which are not needed if you are only going to use it as a home lab Linux server machine.
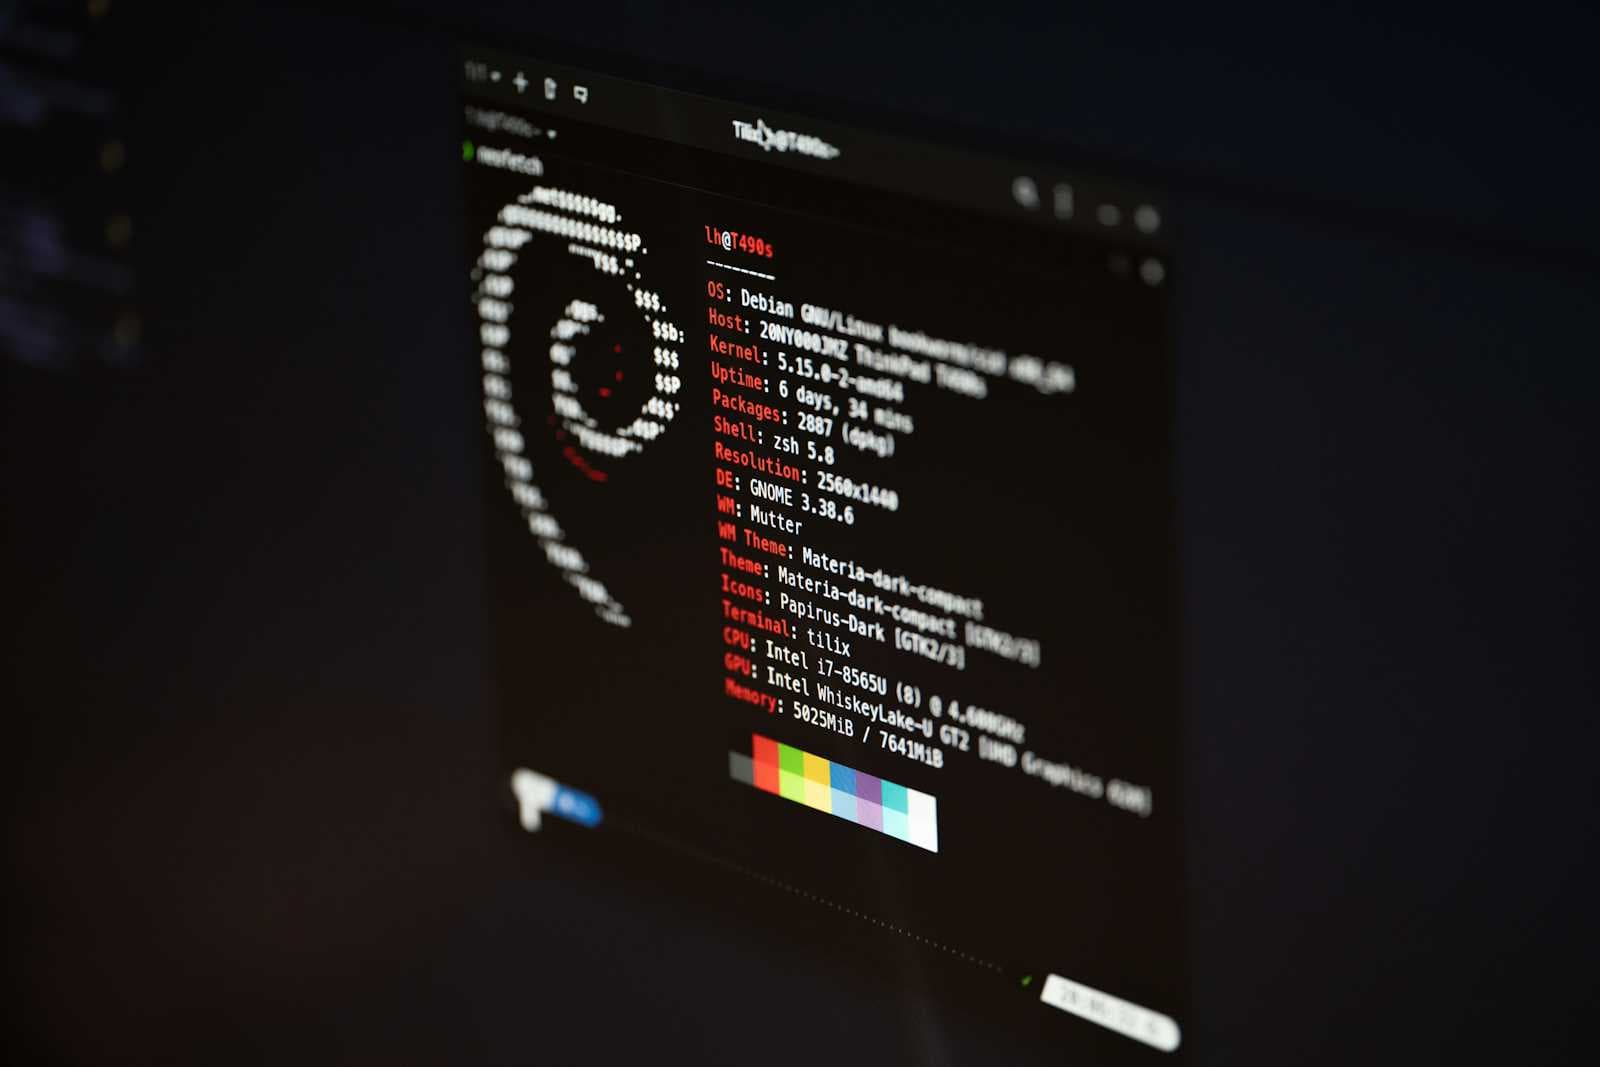
You can head over to debian-on-amlogic, download a Linux image file that is compatible with your TV Box, and install it.
Remember this, we are installing Linux directly on the EMMC of the Android TV Box. It's not running in an emulation over Android. Meaning, that Linux will boot once you install it on the box.
Currently while writing this, there are 2 TV Boxes available in Nepal that support this Linux installation.
I own HK1 Box and H96 Max X3, both have Amlogic S095X3 processors and using them as a home server for many years. Though they are not available in the Nepali market right now.
Linux installation on them is fairly easy. You download the right image and flash it on a USB Thumb Drive using Balena Etcher, connect it to your TV Box, and press the reset button while powering it on. And that should make it boot from the USB. From there, follow the instructions and you are done. Once the installation is complete just disconnect the USB and you are good to go.
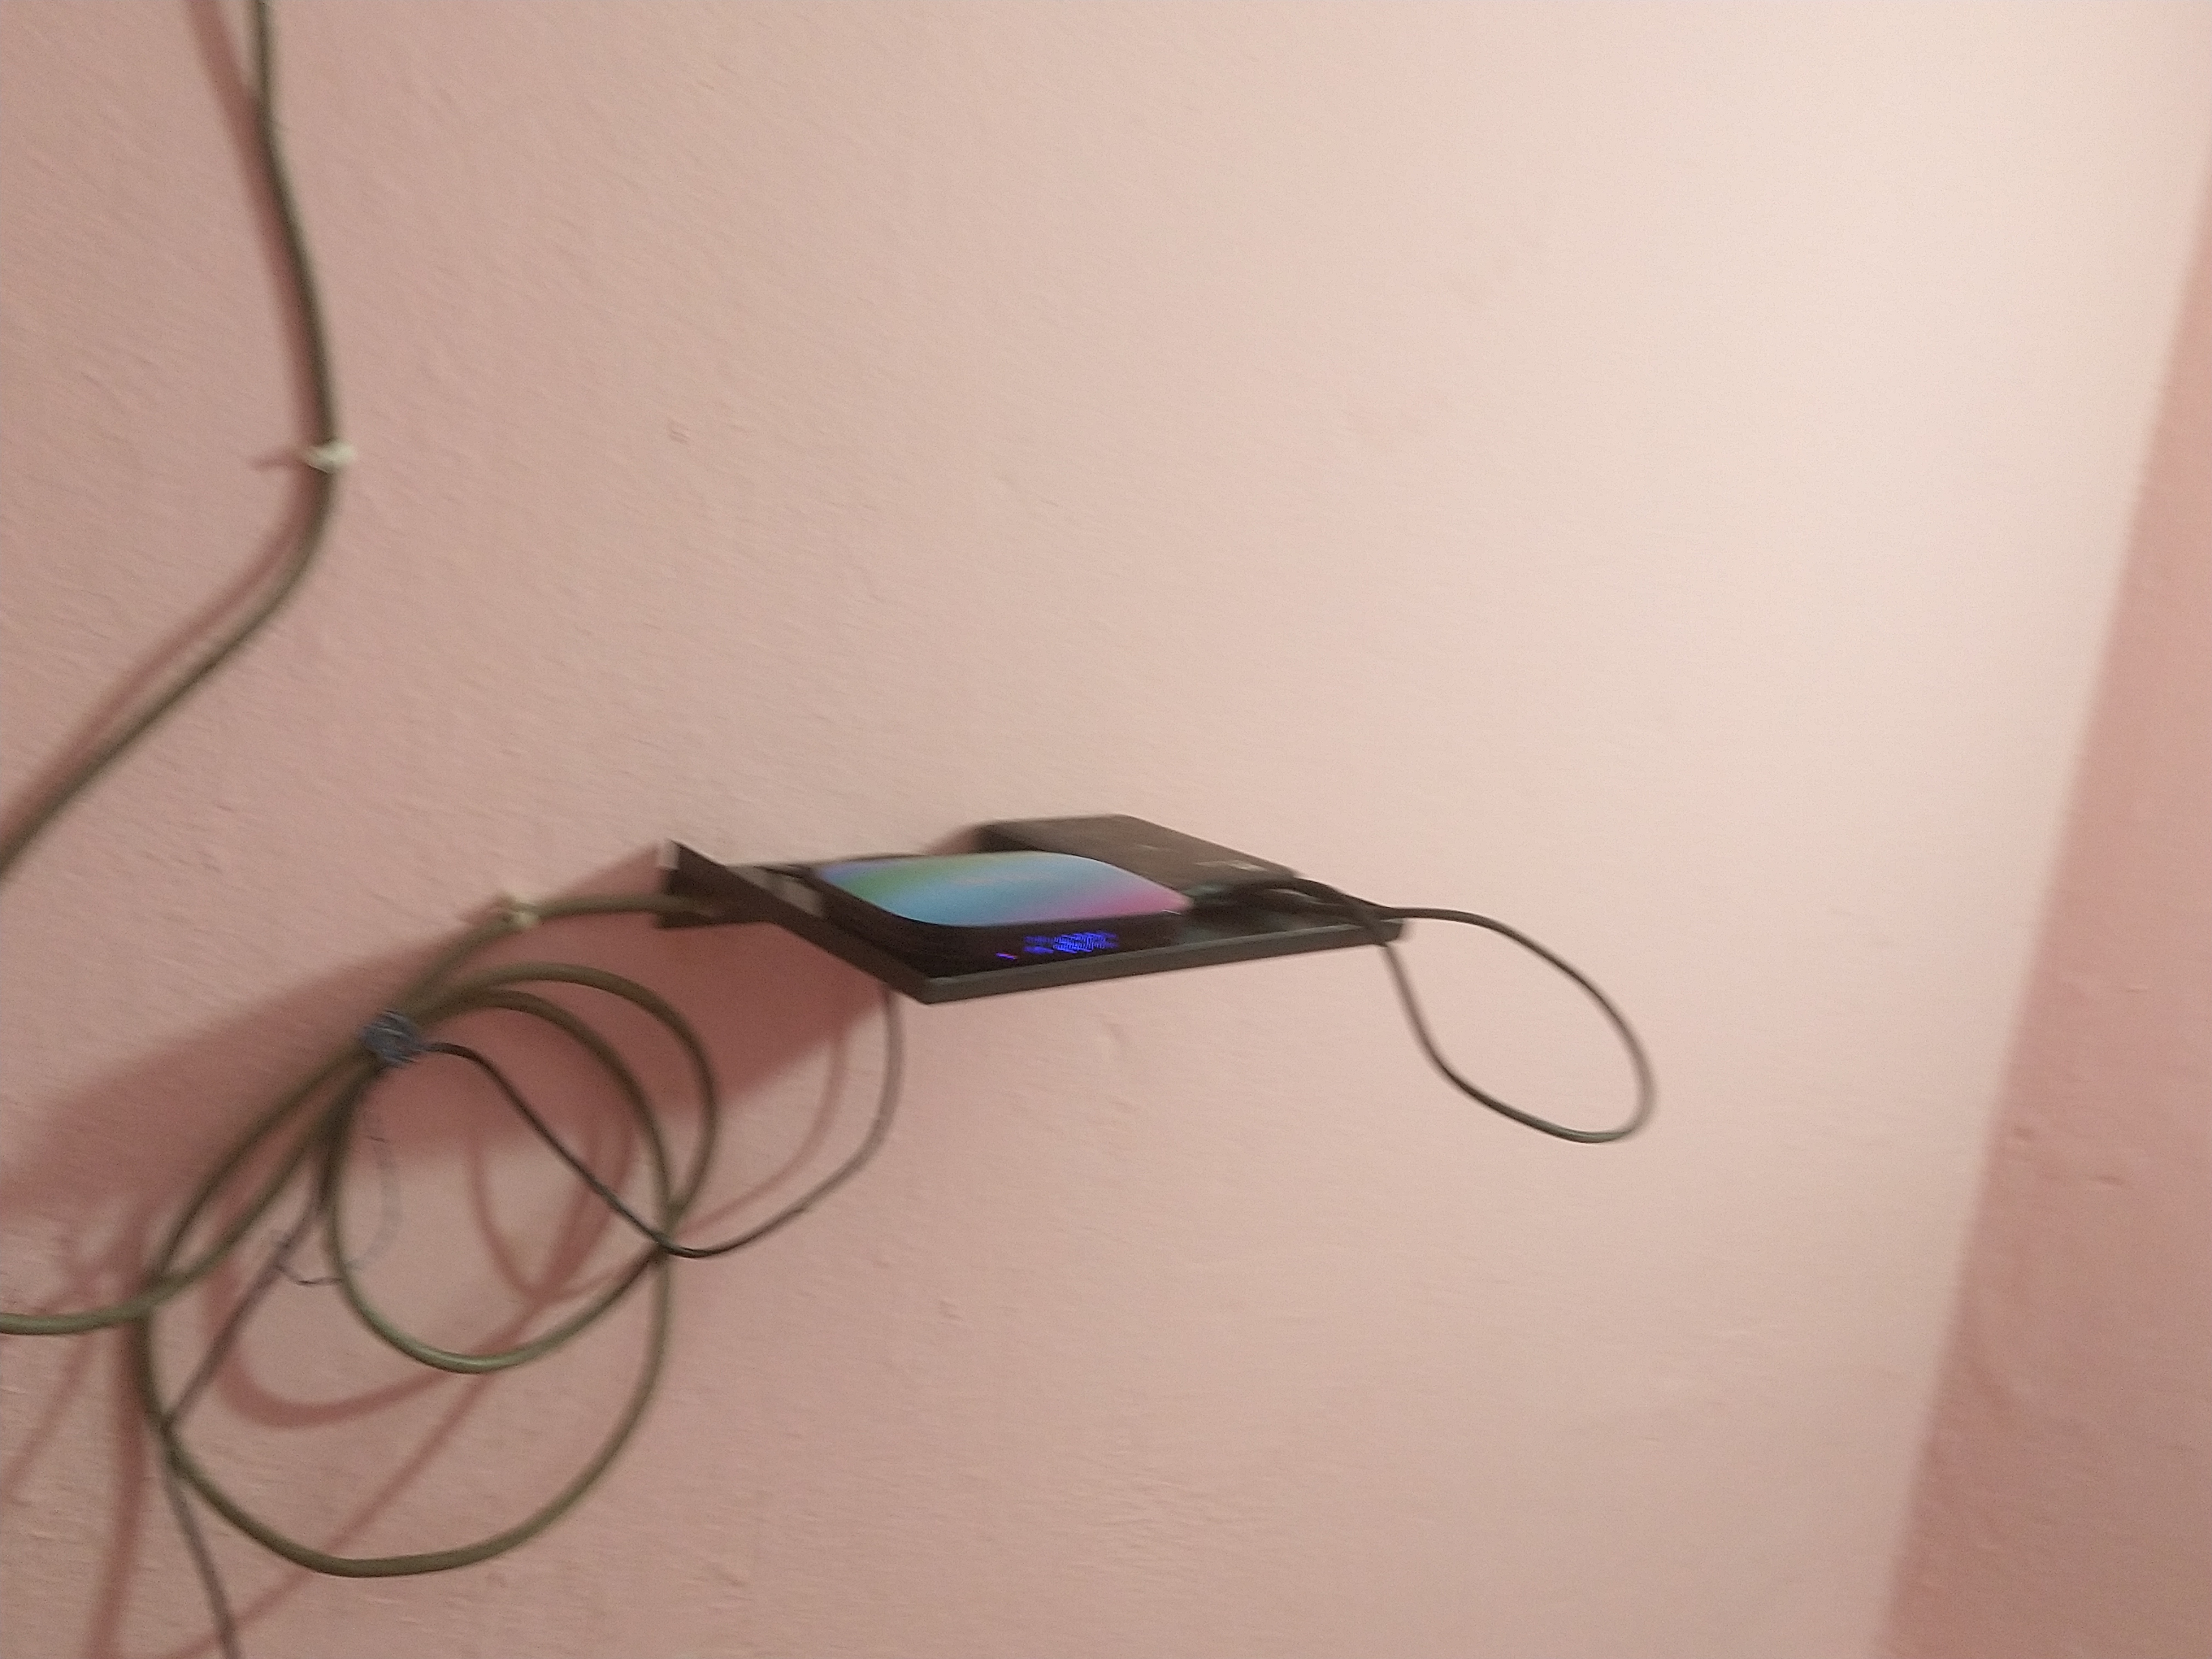
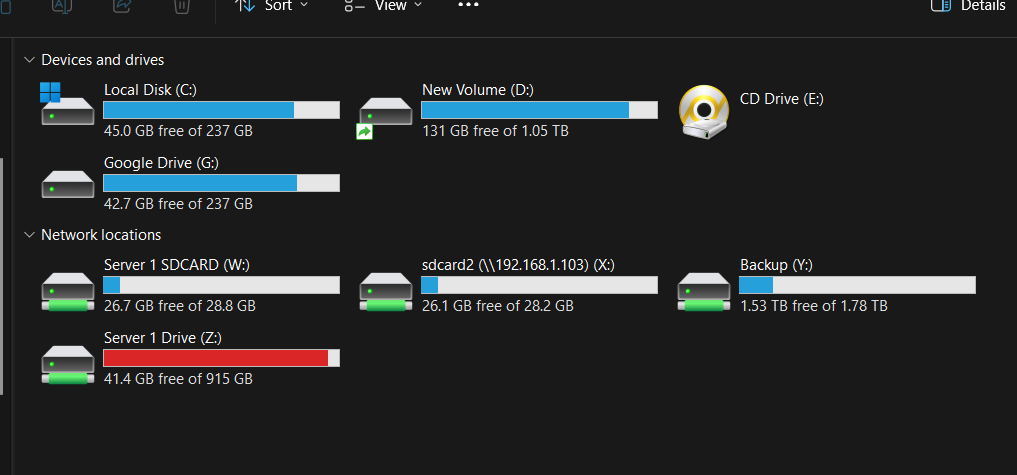
I keep mine on a stairs side walls using a wall mount rack. The good thing is, this HK1 TV Box has a Gigabit Ethernet. Meaning the data transfer rate can go up to 100 MB/s. I have connected a 2 TB external hard drive into the Box there. Did some configuration on the Linux system to make it auto-mount using fstab.
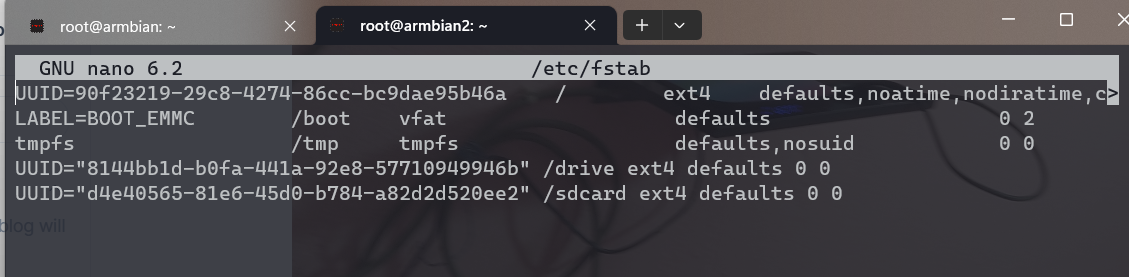
There is also an SD card slot in the box. Since I had a spare 32 Gigs SD card lying around. I put it inside the box and also kept it on the automount config in the fstab.
With that auto mounting, I have been using Samba to access the files from the network.
It's been really easy to use it as a media server. I am using Kodi on devices and these TV Boxes feed the data to it.
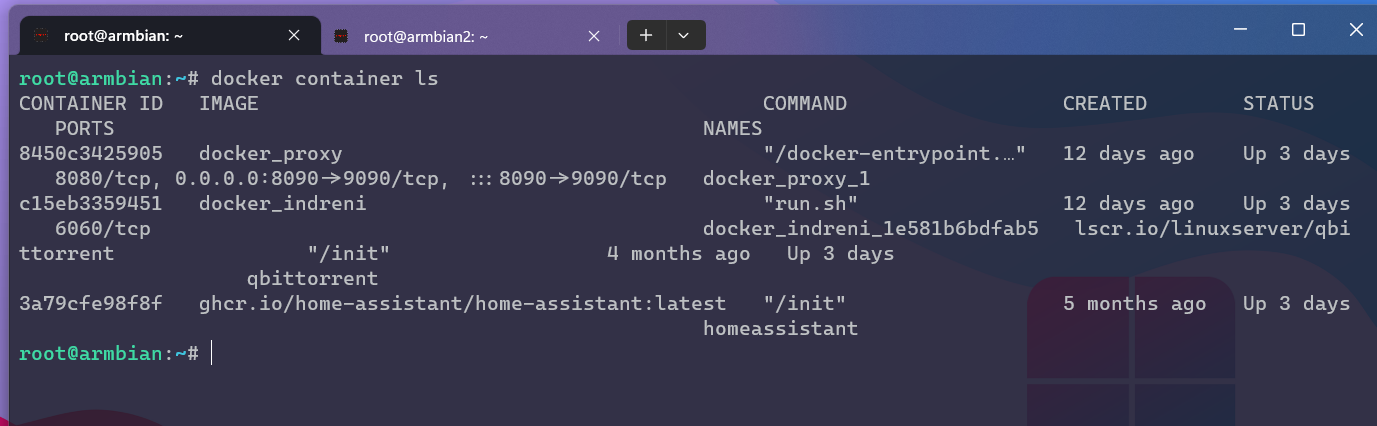
With that said these TV Boxes are incredibly powerful and power efficient. I have been also using it to run some docker containers to host Django applications and the Nginx server. They run with no problem.
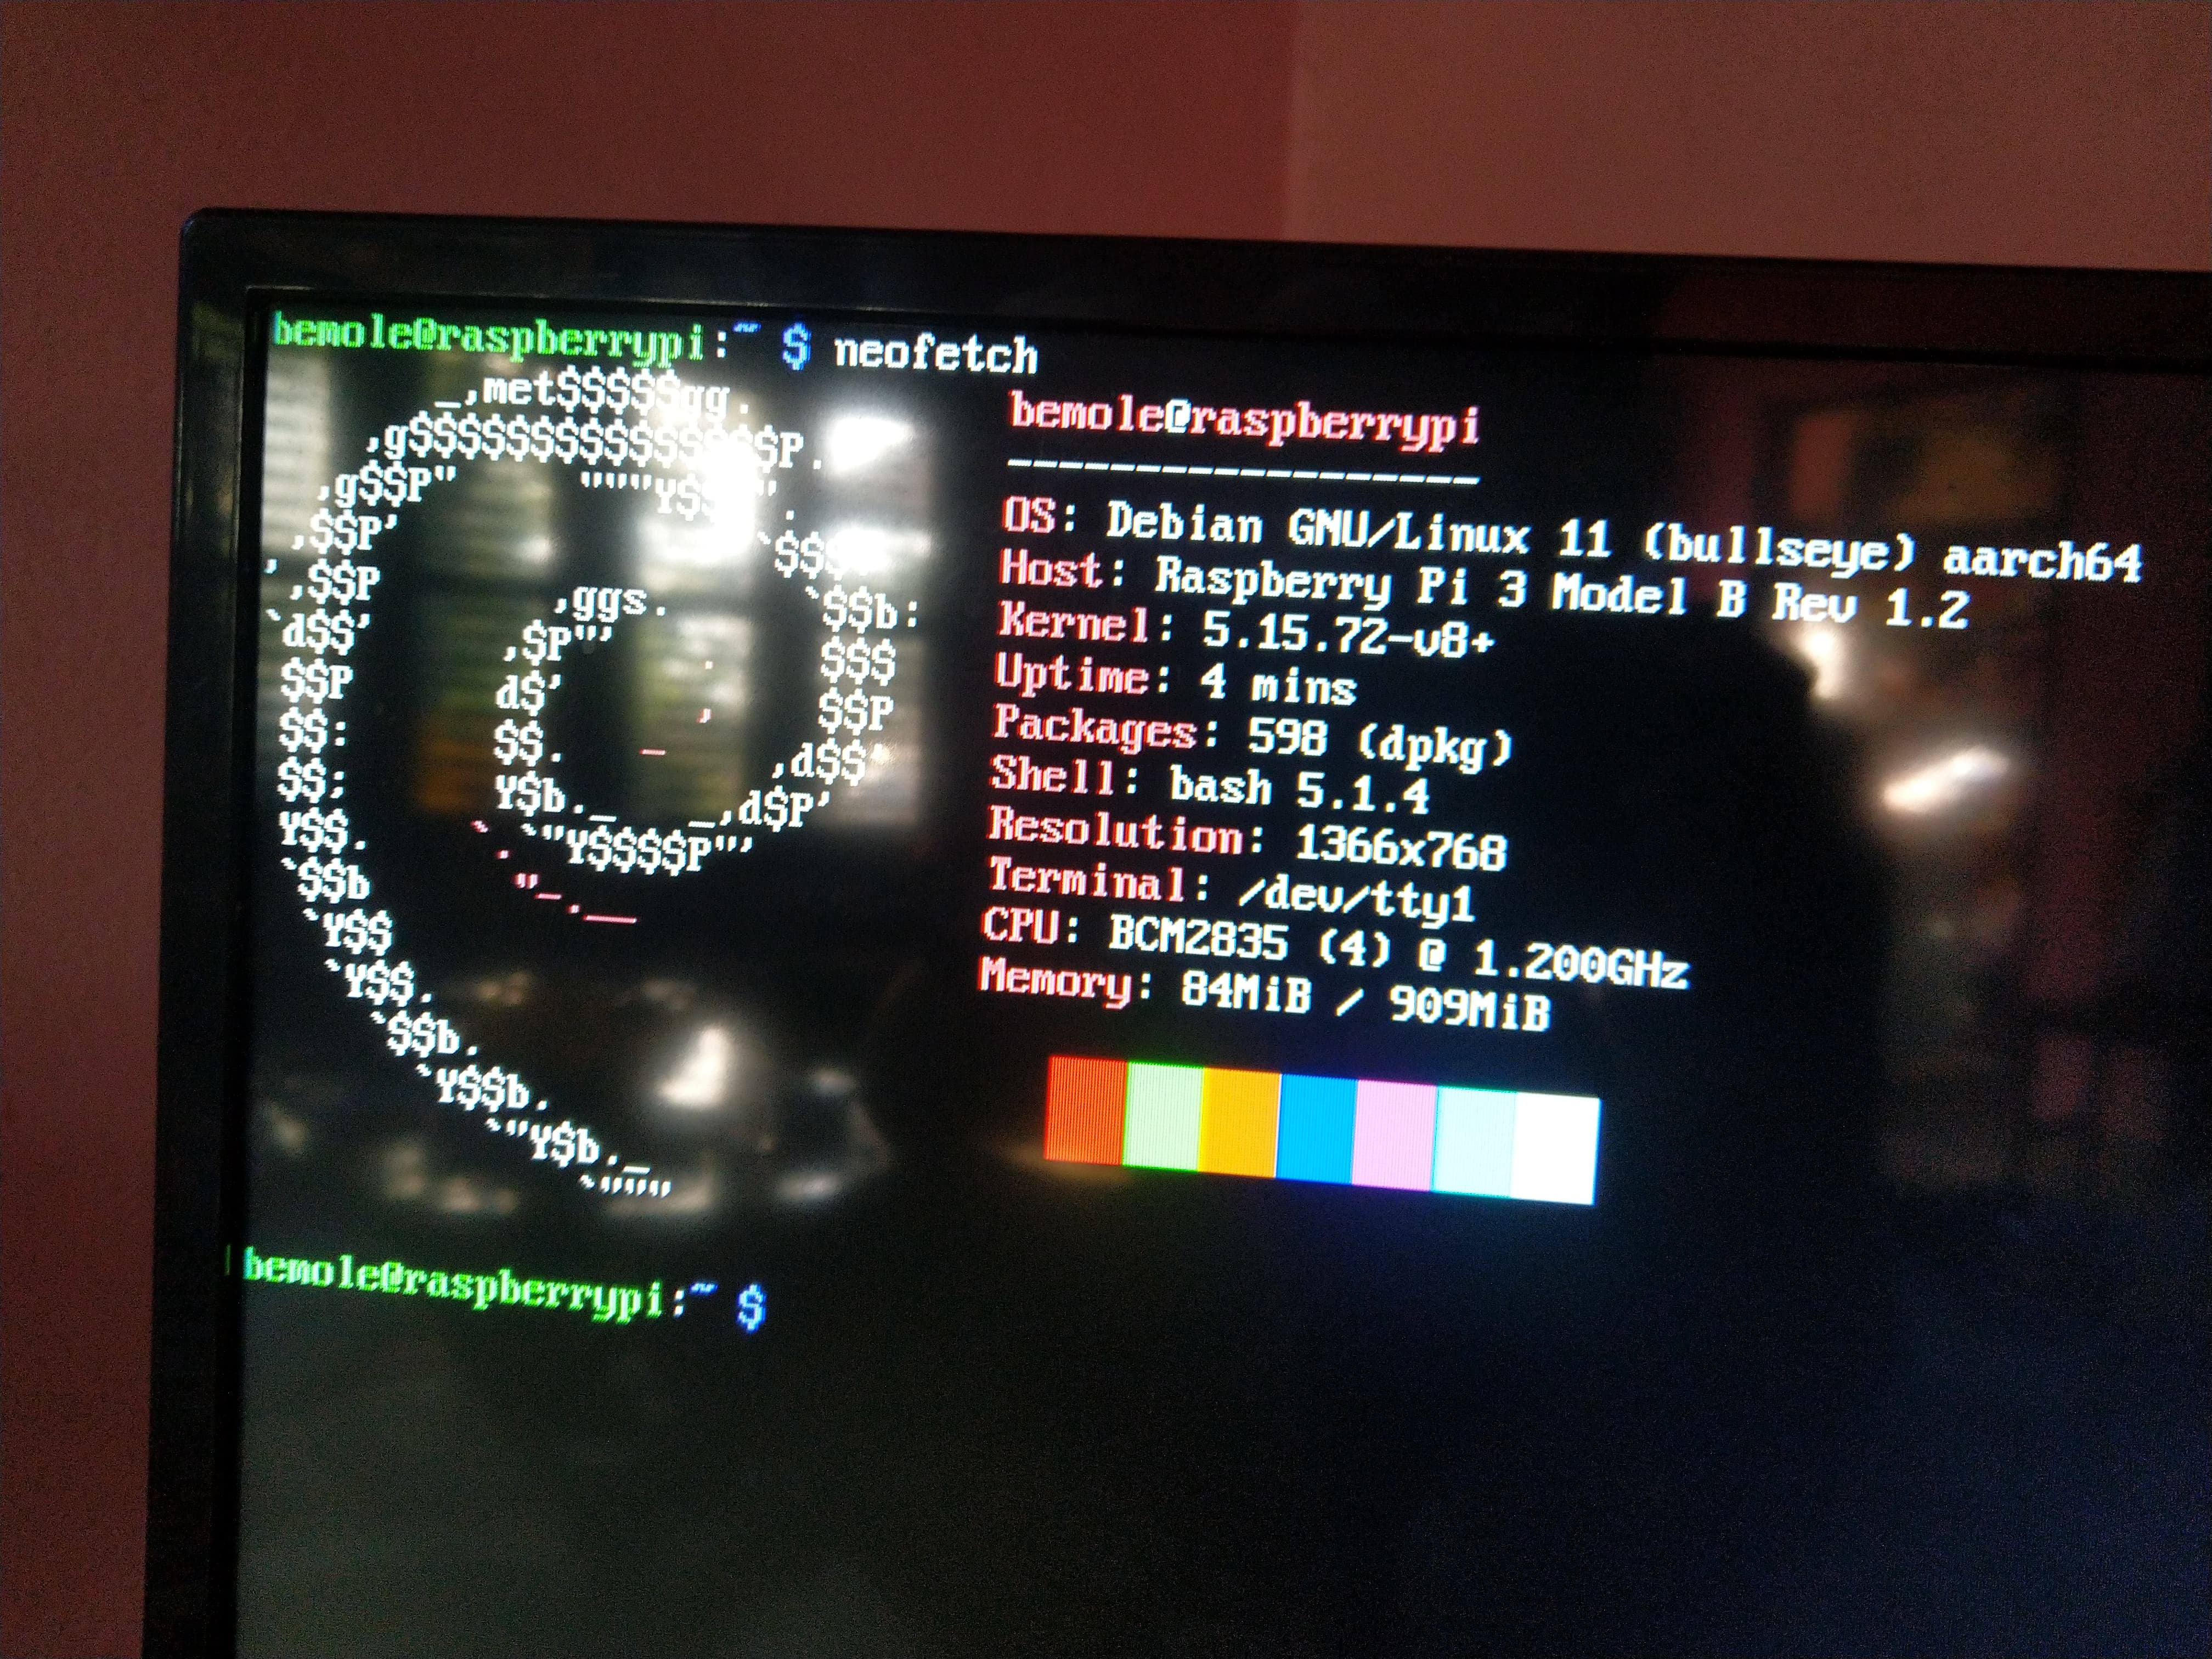
Talking about the performance. I once had a Raspberry Pi 3B, given to me by an internet friend. And it was really slow.
Also, I got only a bare board from him. Meaning I had to buy the power supply, memory card, a case, and a heat sink.
Buying all of those cost me around 2K. This Raspberry Pi 3B model had 1 GB RAM and it's CPU was clocked around 1.2 GHz. The performance lag could be instantly felt while using the terminal.
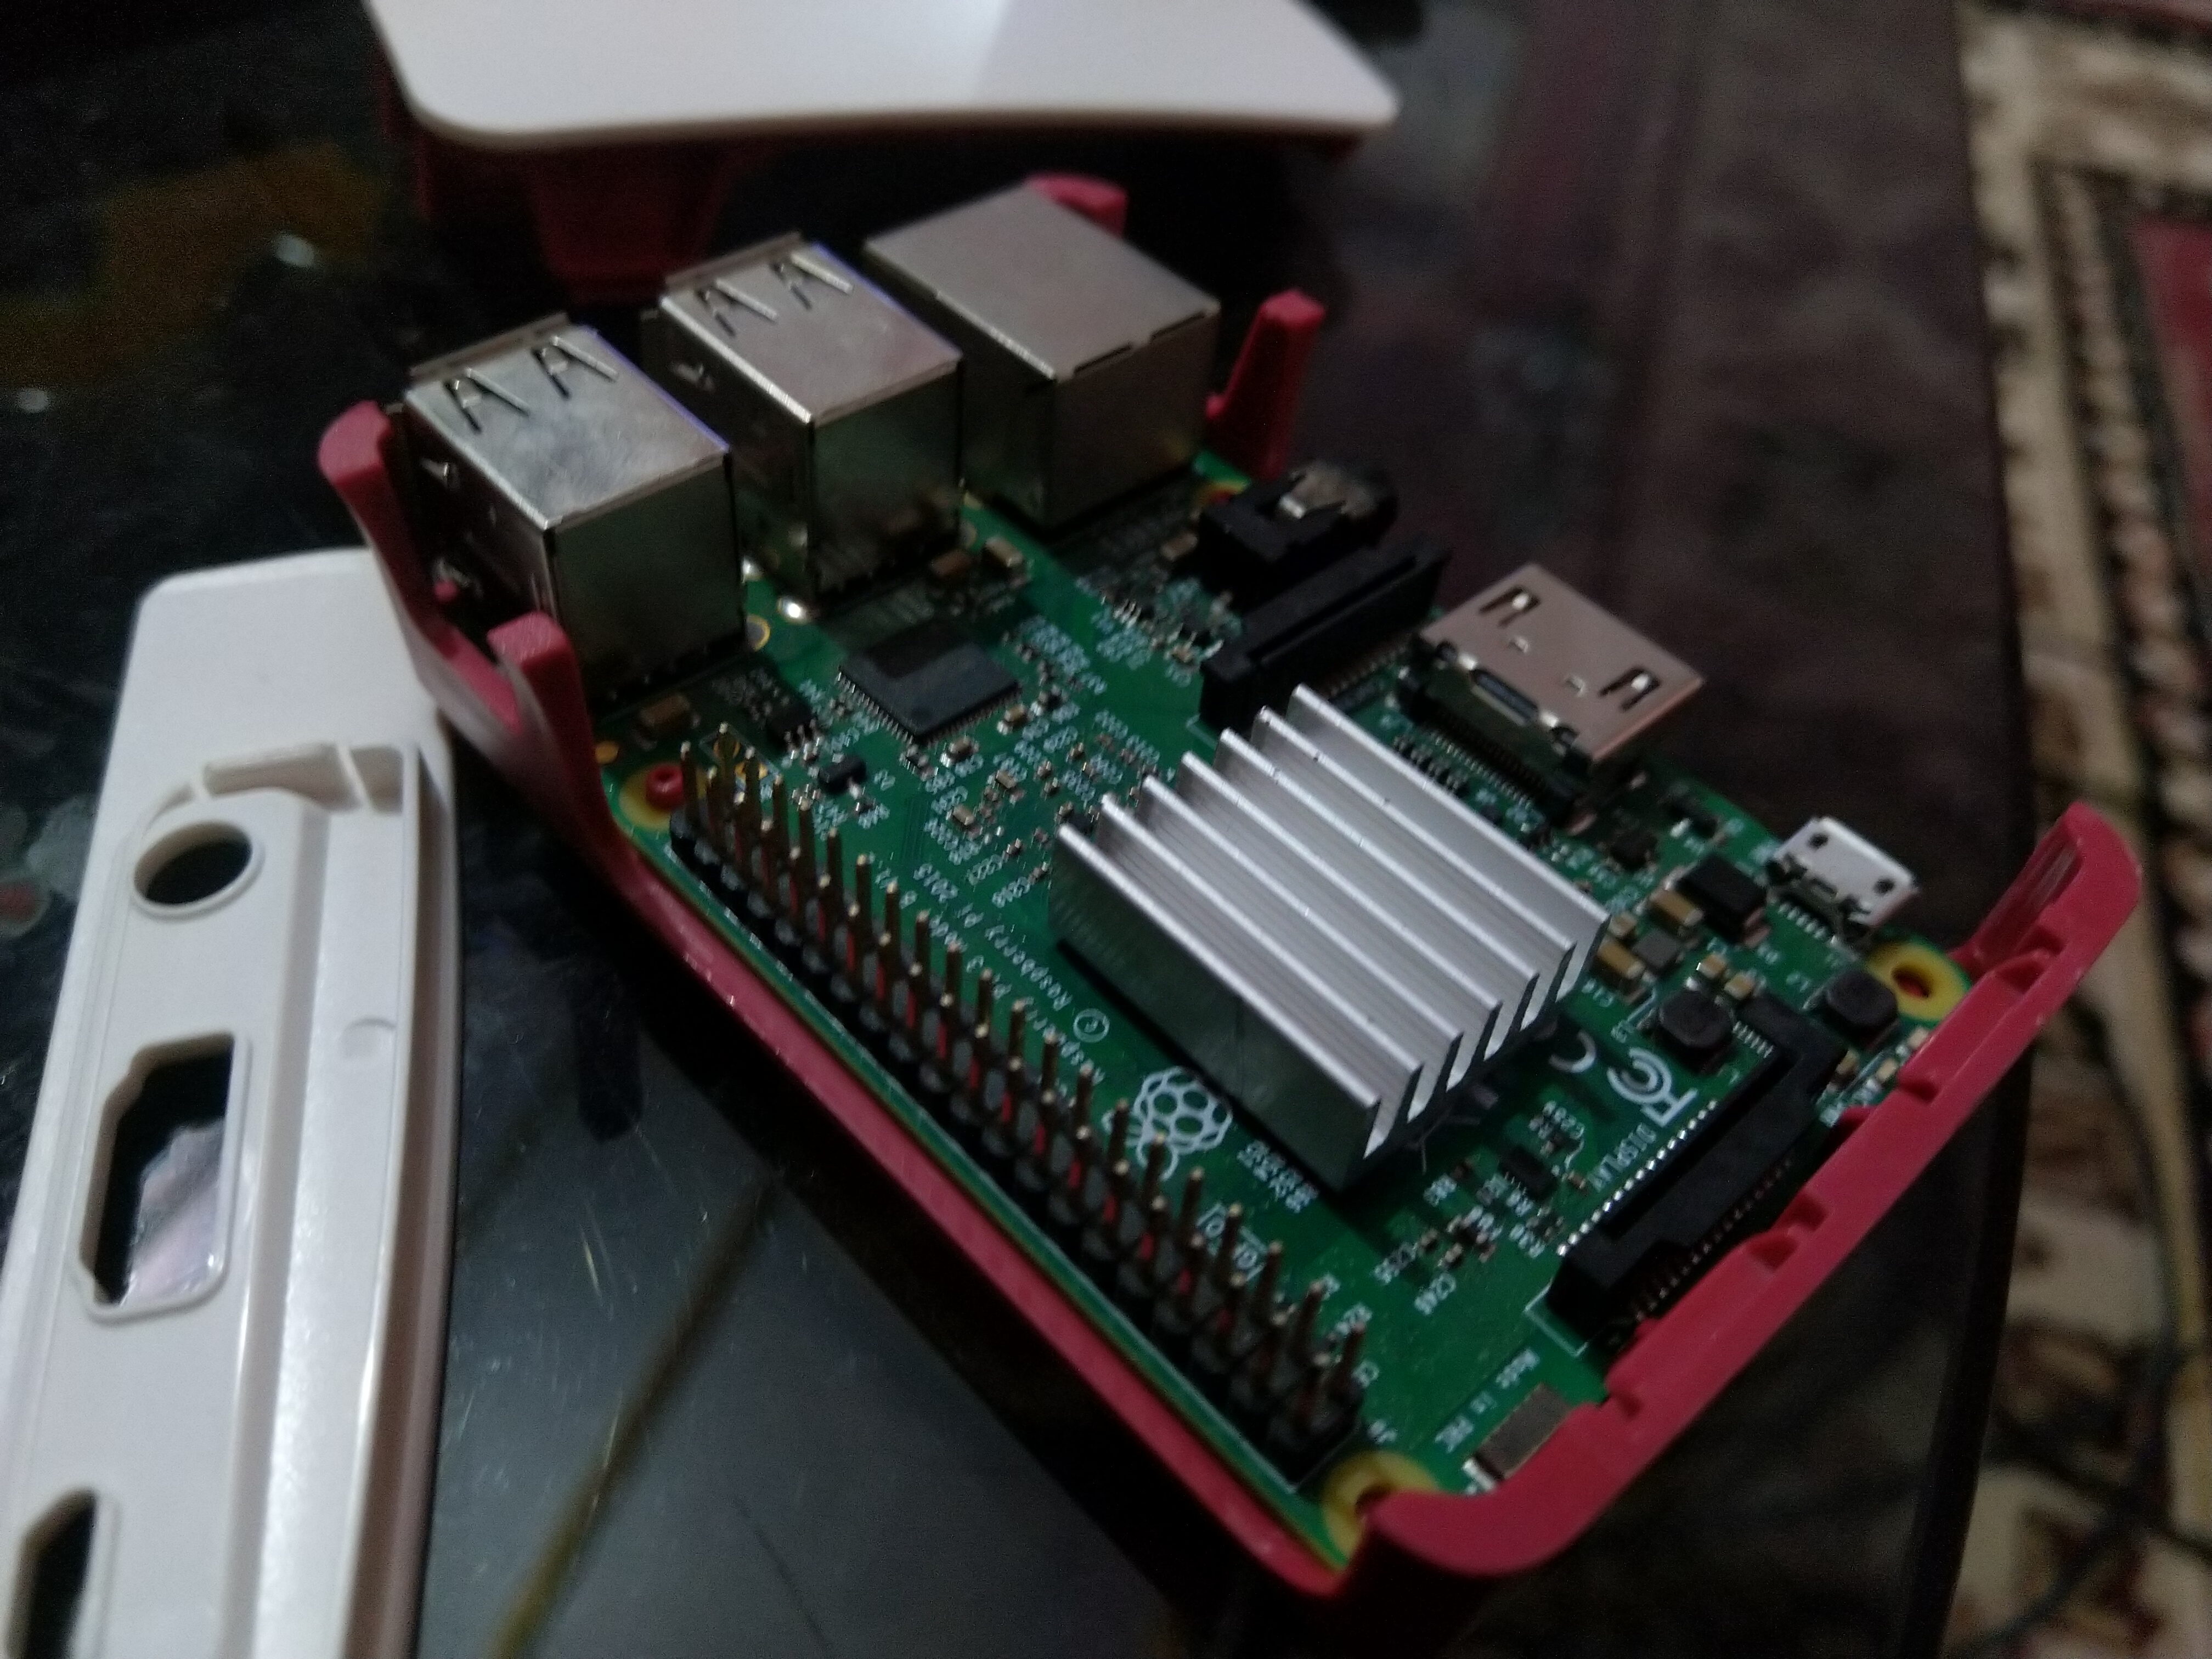
So, after a few months, I decided to use a heat sink on it. But while trying to adjust the heat sink I accidentally knocked off a few of the resistors and capacitors off the board, causing WiFi, LAN, and some USB ports to not work.
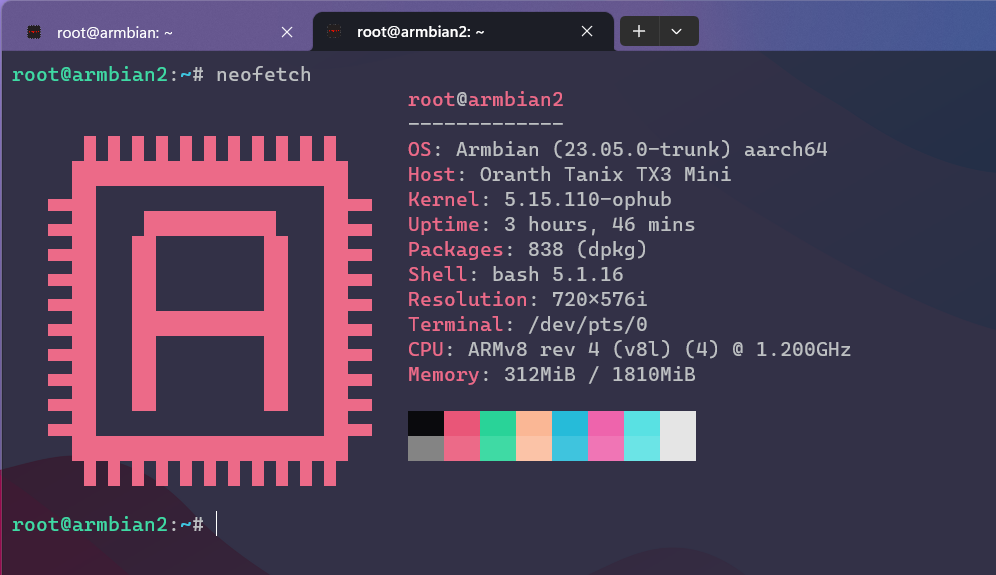
Since I was using it for some critical home use, a small Linux machine was needed. I decided to get the TX3 Mini Android TV Box to fill that needed hole asap.
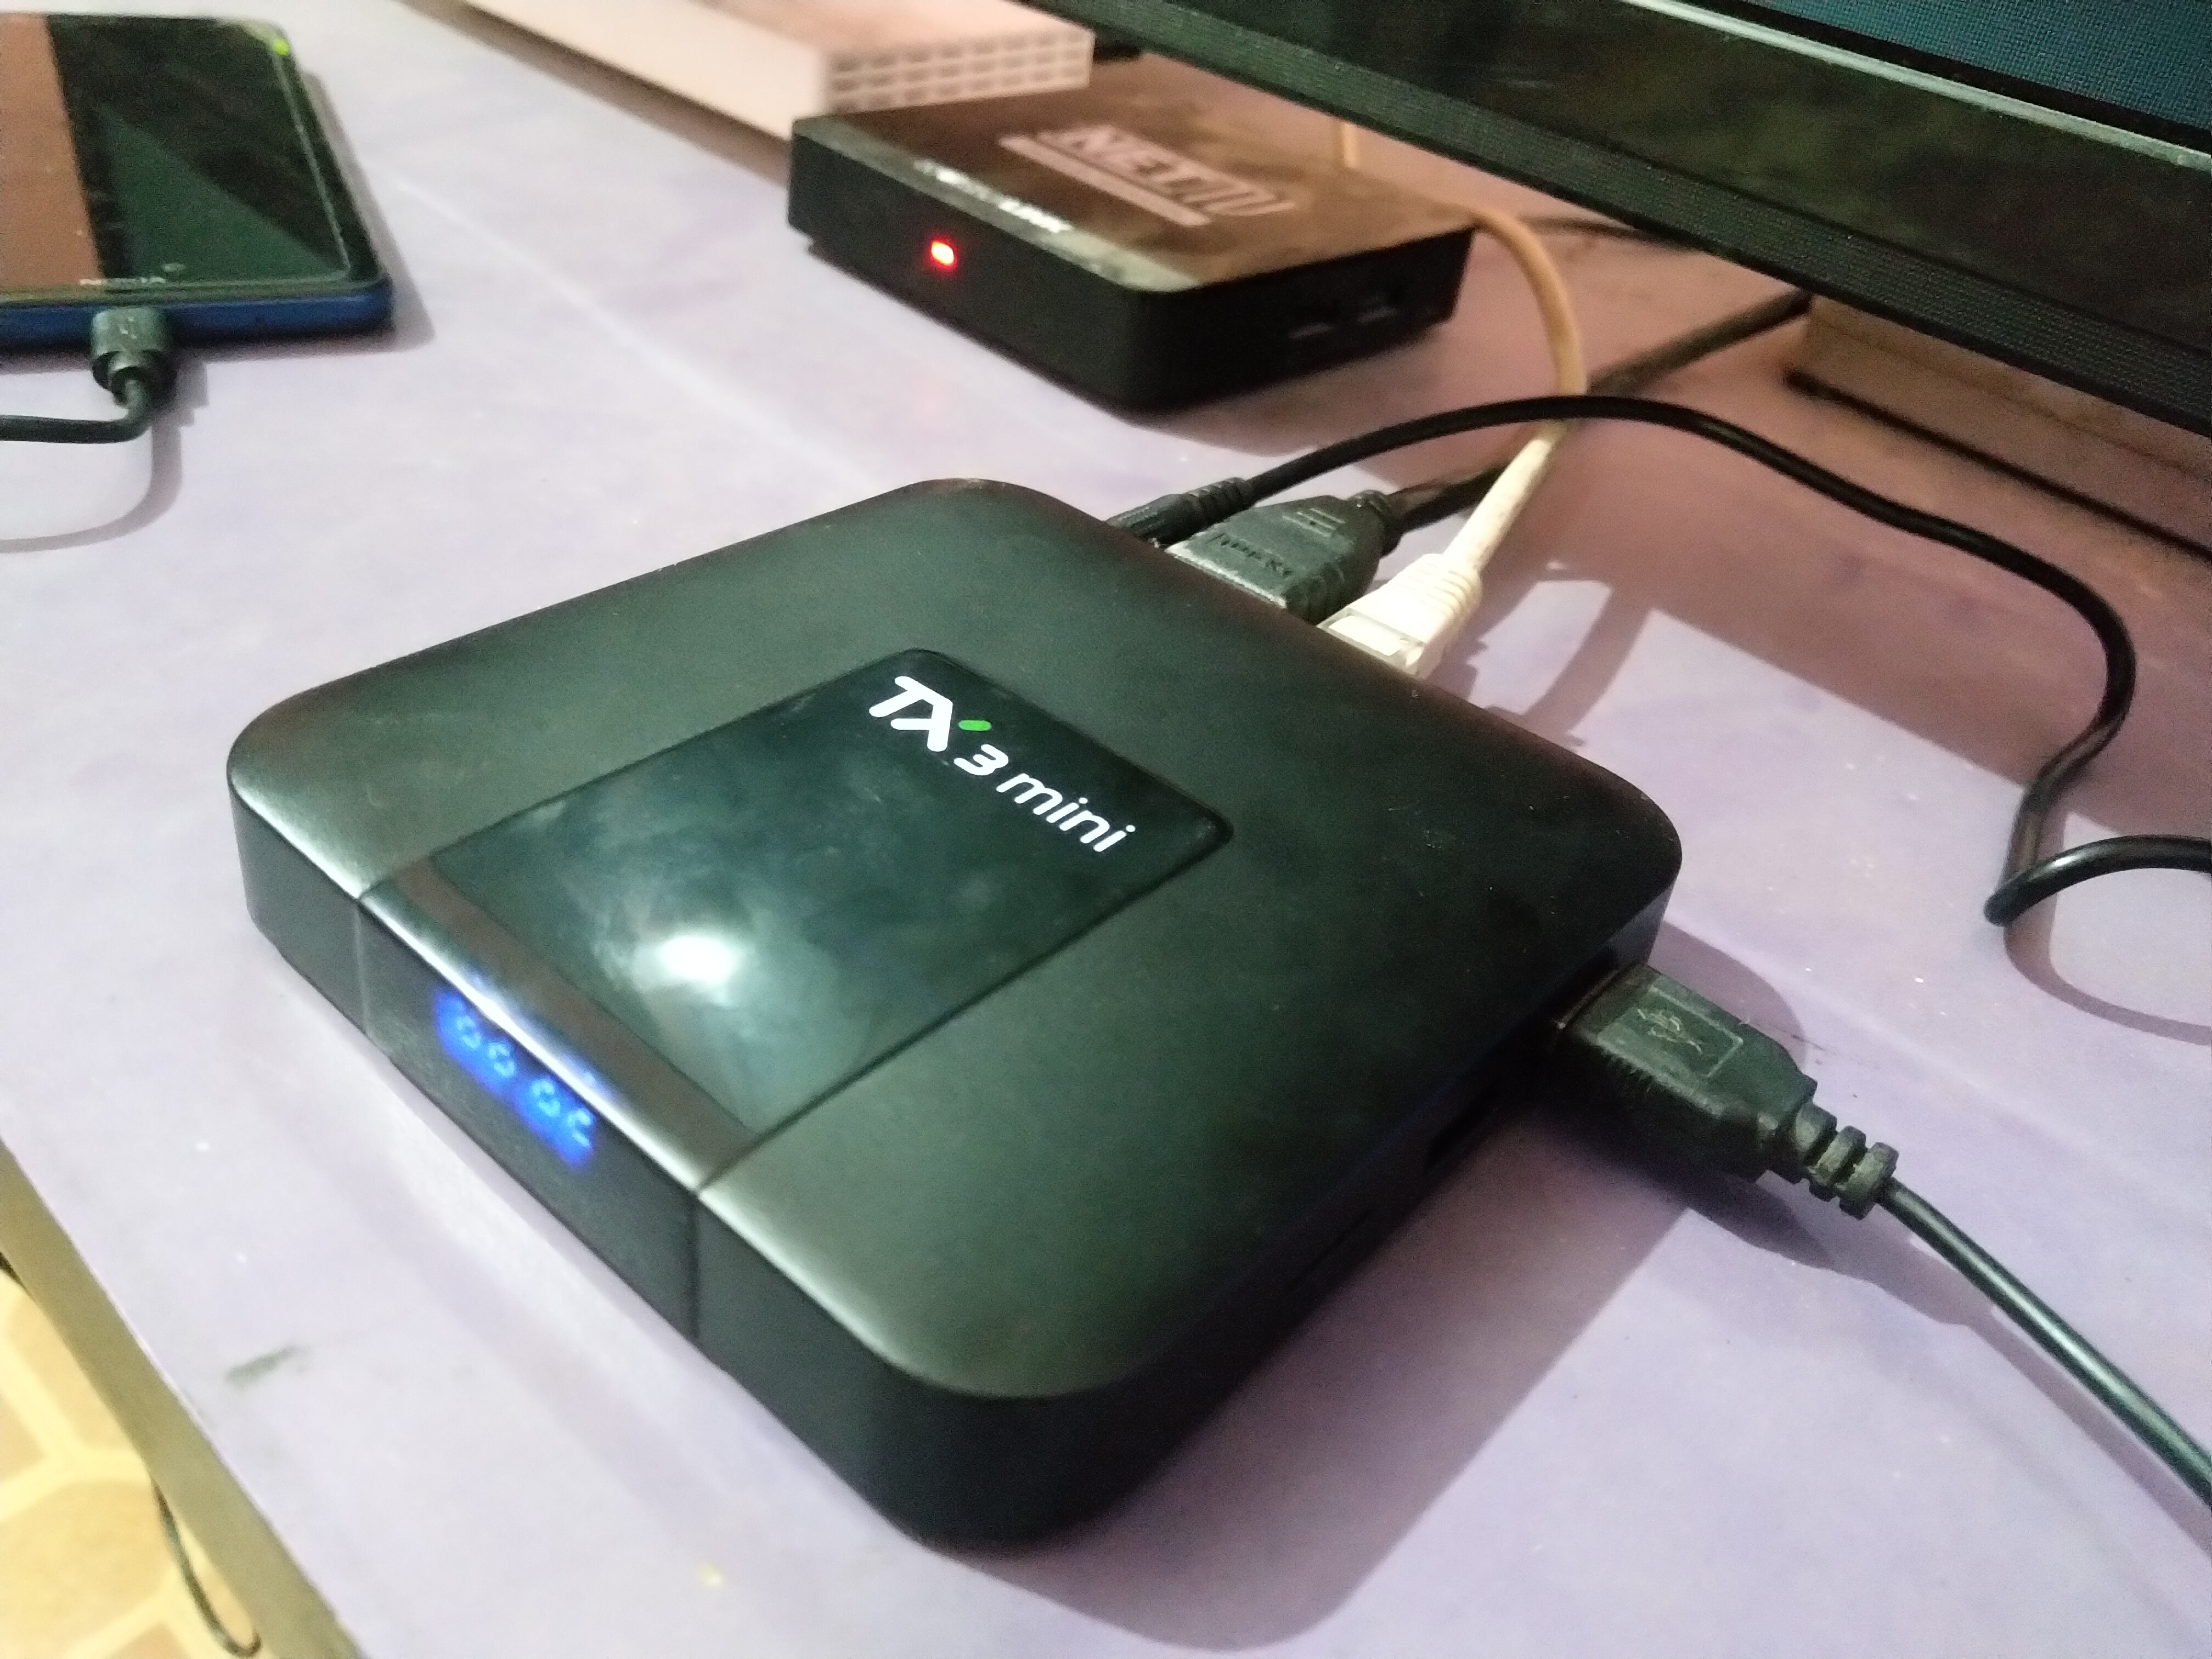
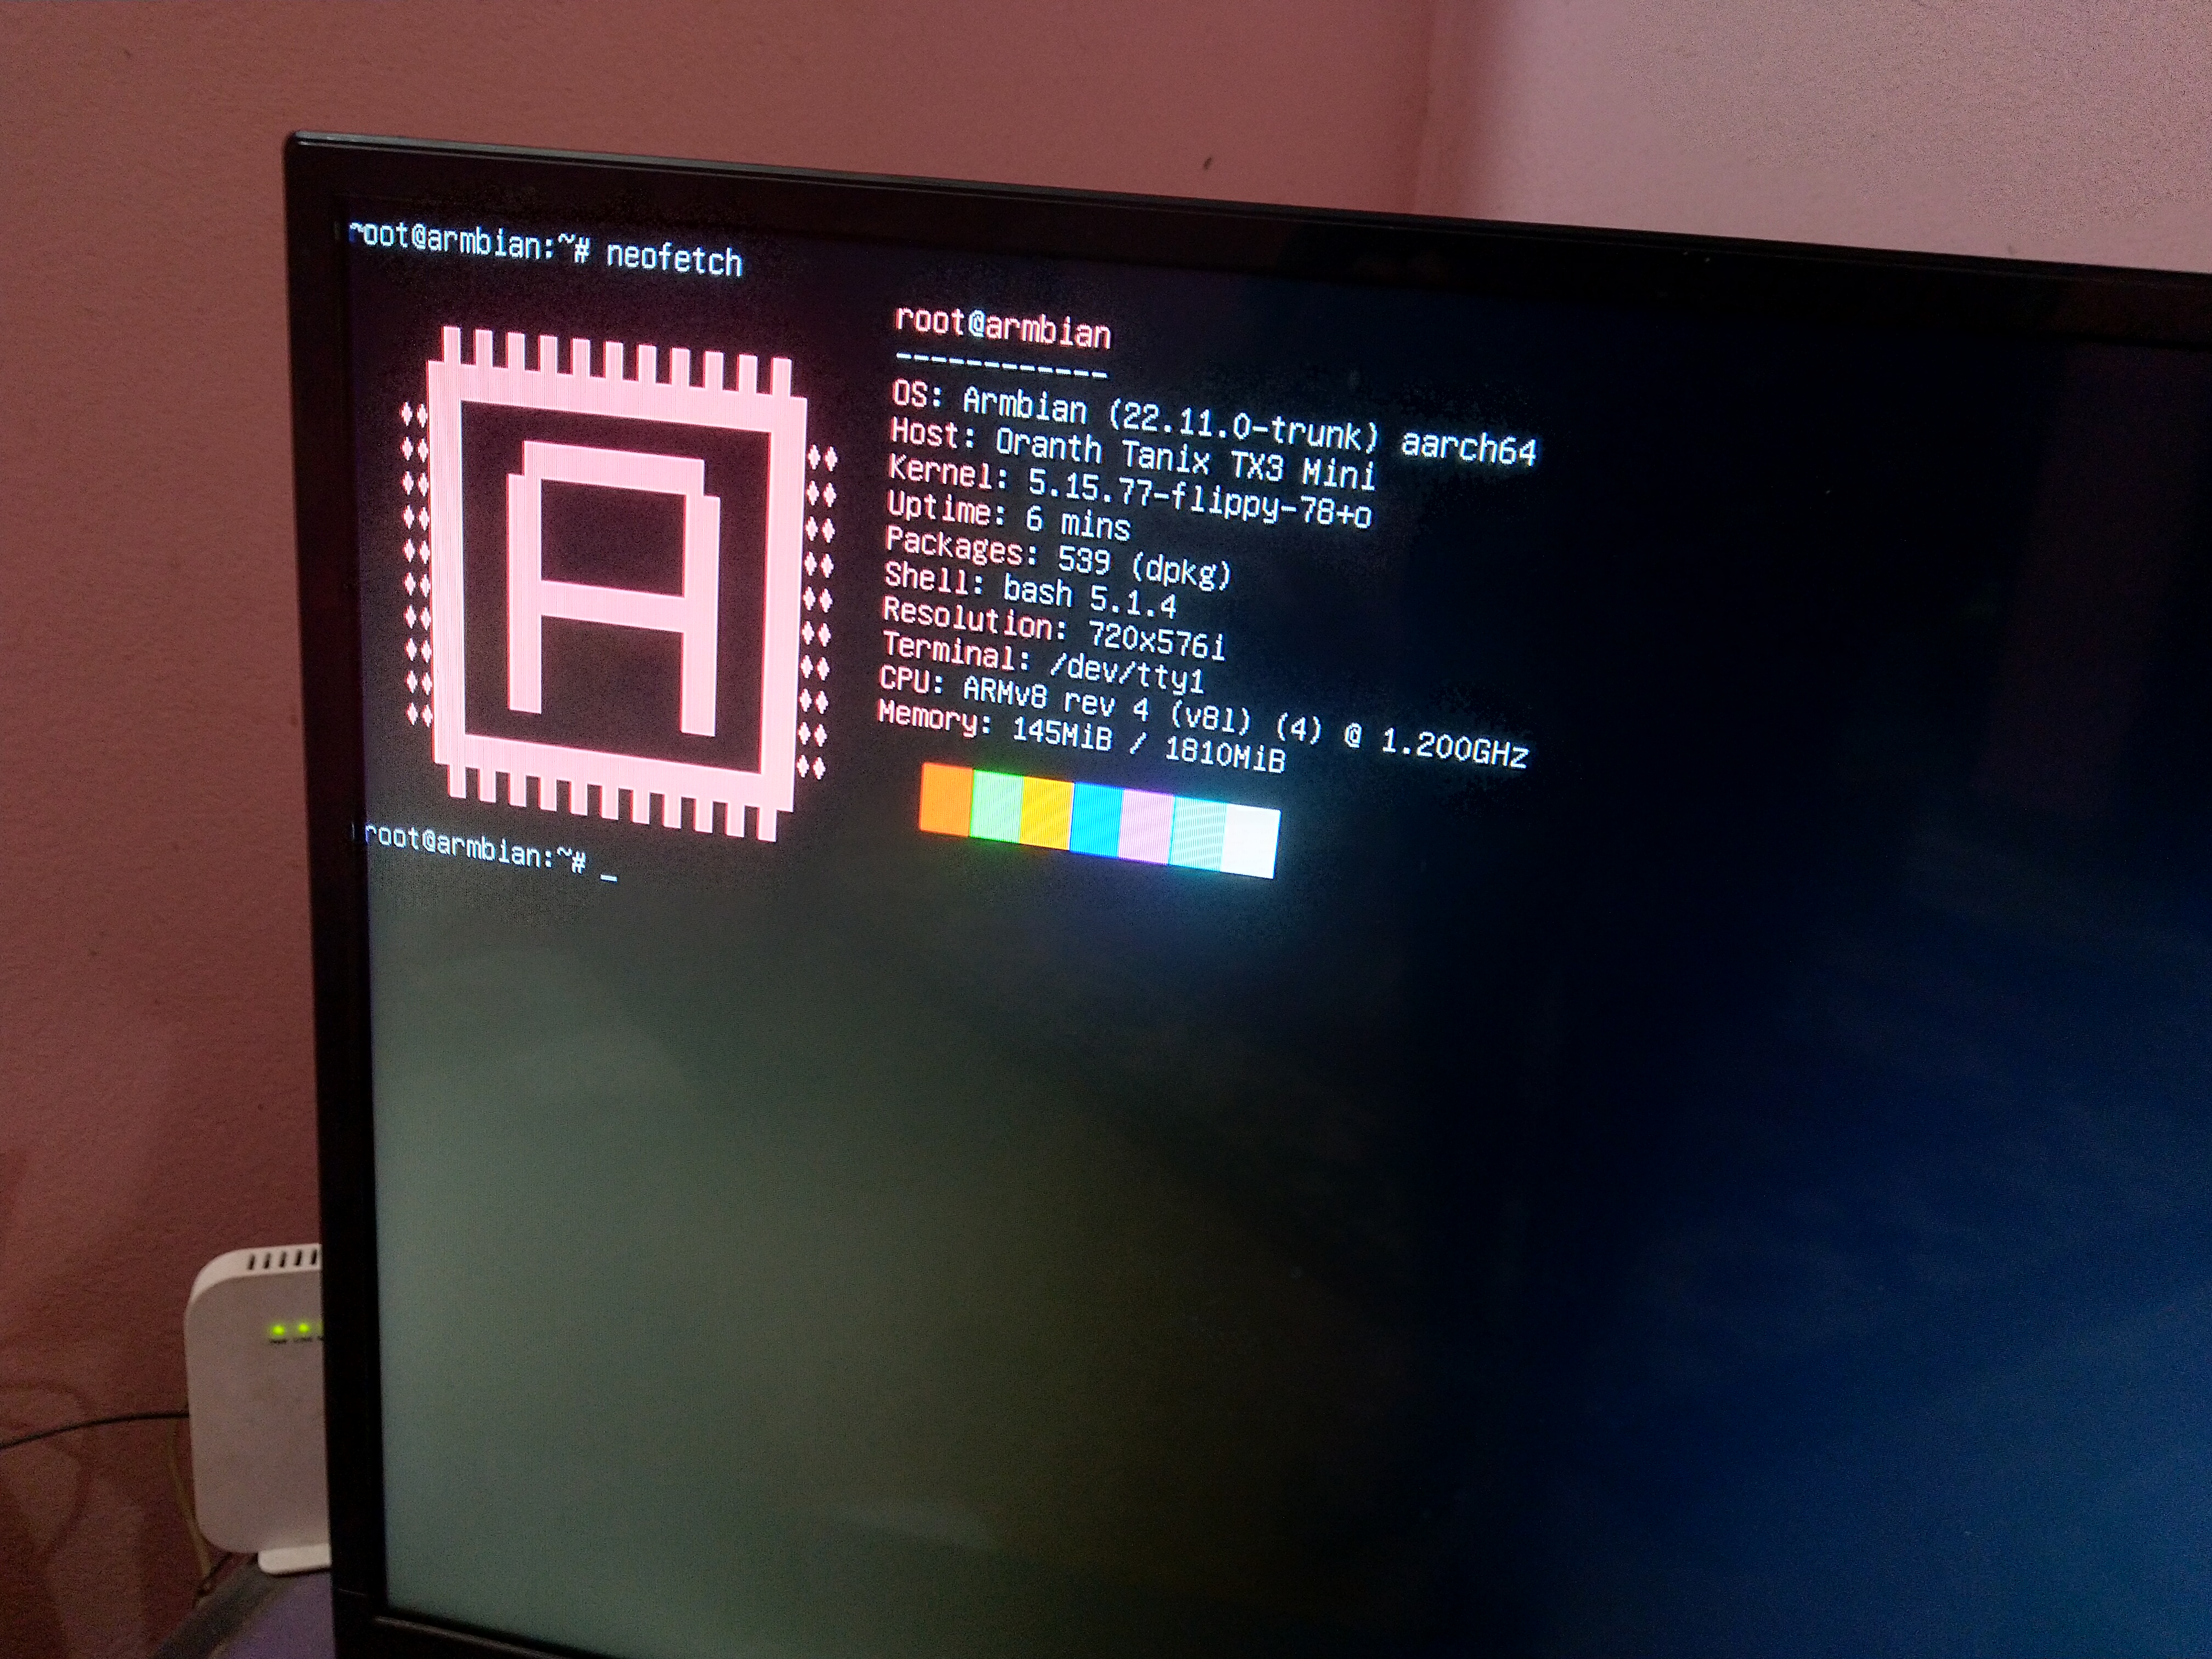
Finding the reset button on this box was a little confusing since all of the TV Boxes used to have their reset button inside the audio port. For some reason, this box had it on the center of the opposite side of the box. Once I installed the Linux on it. The performance was noticeable compared to the Raspberry Pi 3B, even though both of them have CPU clocked at 1.2 GHz.
So, you can see from this experience how easy and hassle-free it is to do this on a TV Boxes compared to the Raspberry Pi. It saves you from the trouble of buying all of those extra accessories.
I have been also using it as an OpenVPN server which I have written on my previous blogspot.